ORIGINAL_Getting Started with OpenXR for Mobile
⚠ NOTICE |
|
This legacy plugin is no longer being updated and maintained, please develop mobile content with OpenXR 2-in-1 Unity / Unreal package . |
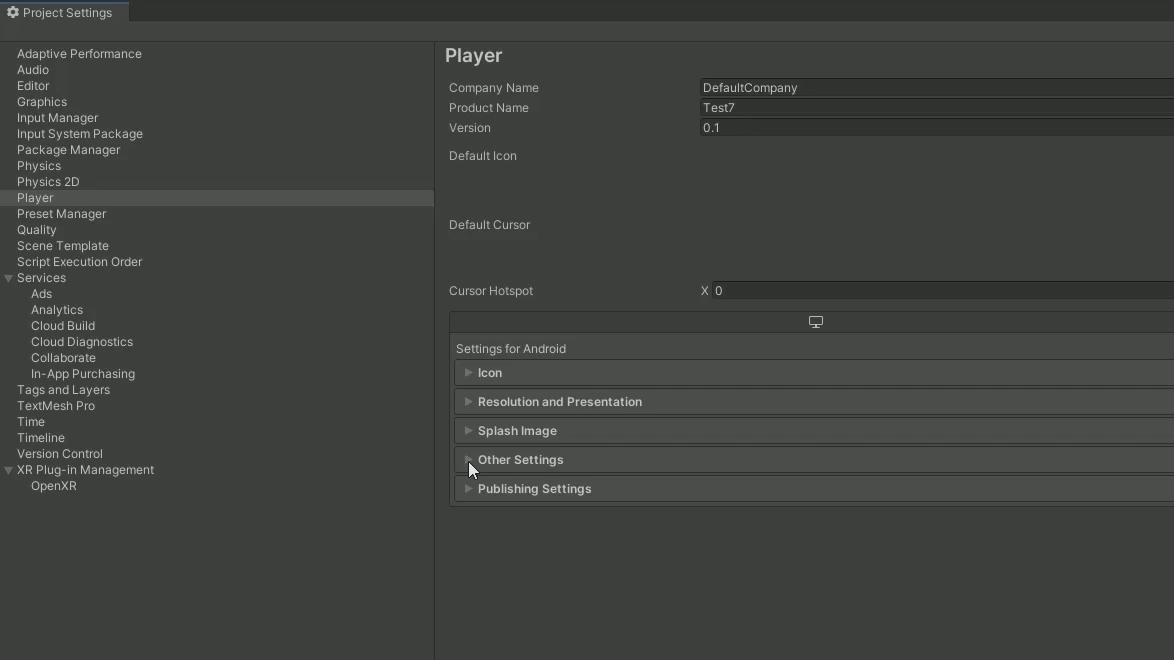
In order for the Unity project to run on VIVE Focus3, several changes in the settings have to be made.
Prerequisite: Unity Versions 2020.3.15f2, 2020.3.30f1 and 2021.3.3f1 are verified and recommended.
Step1. Install VIVE Wave OpenXR Plugin
Install the VIVE Wave plugin.
How to install VIVE Wave OpenXR Plugin
Step2: Set the target platform to Android
In File > Build Settings, the target platform needs to be set to Android .
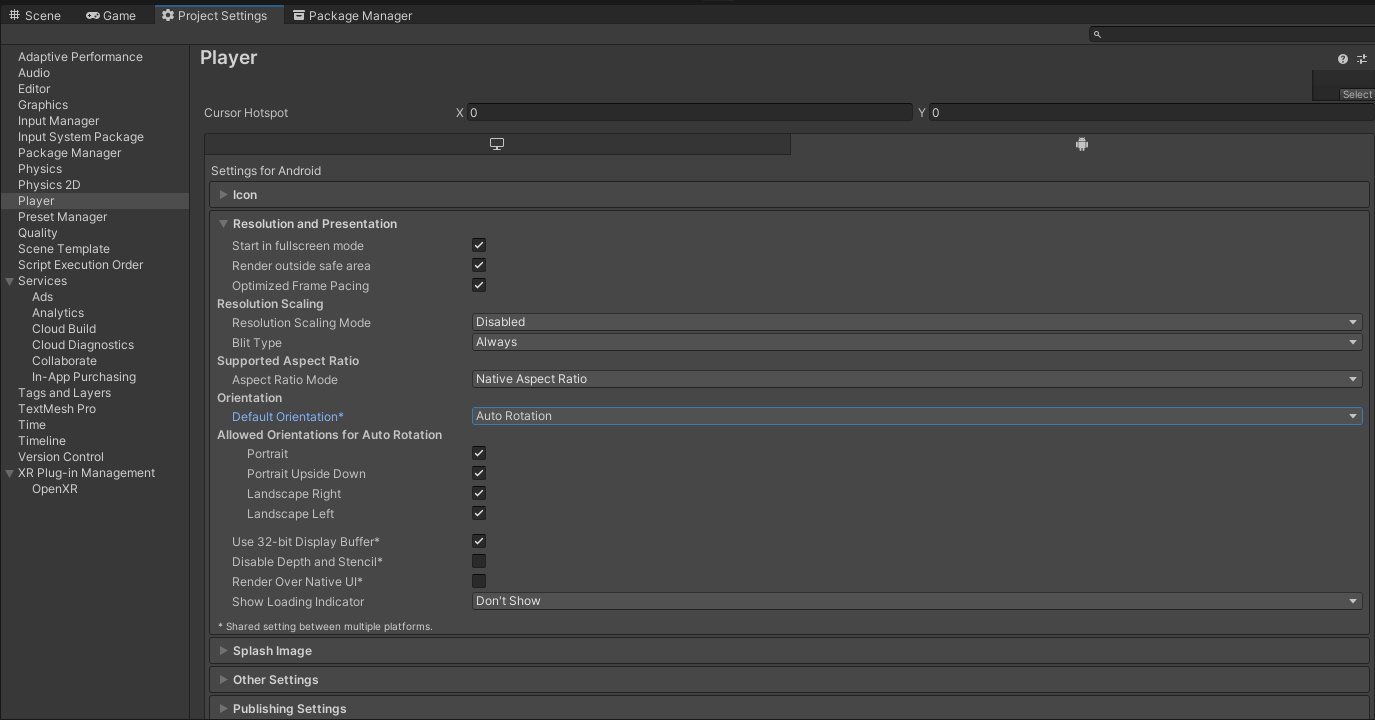
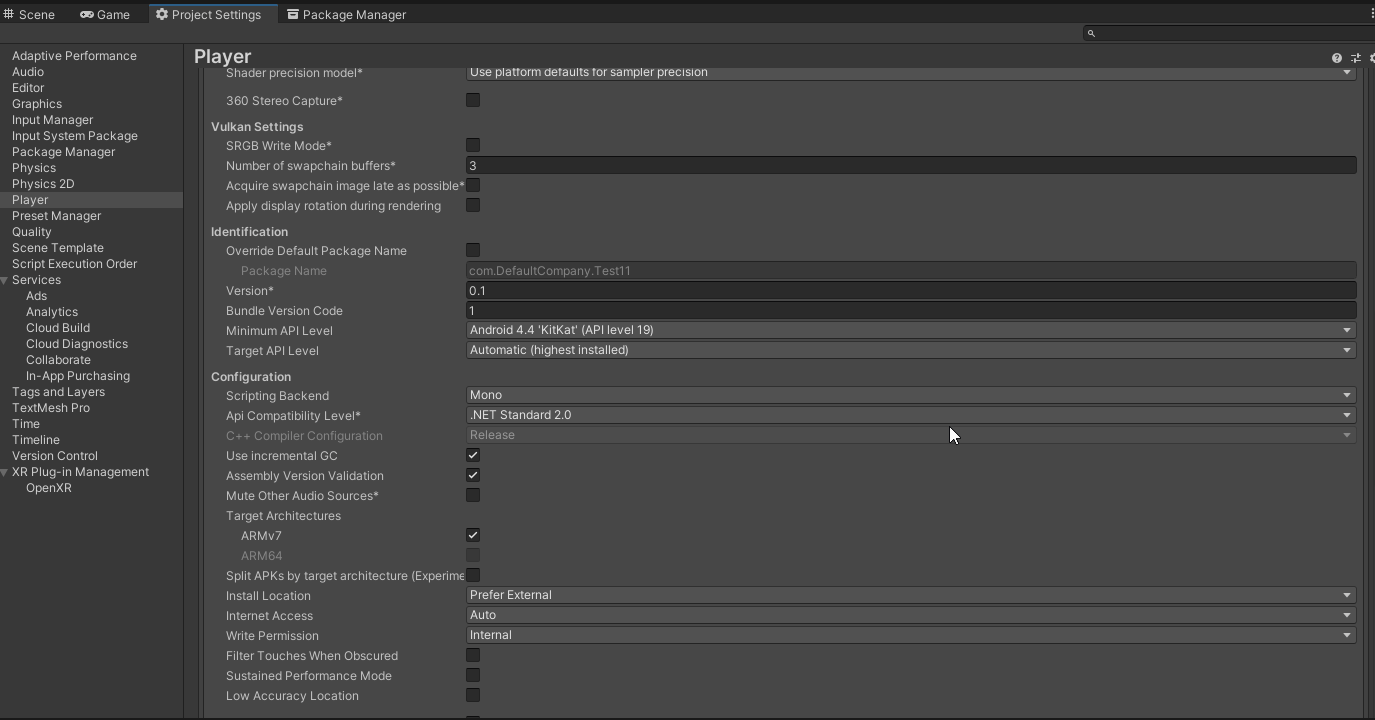
Step3: Set the Orientation to Landscape Left
In Edit > Project Setting > Player, the Orientation needs to be set to Landscape Left .
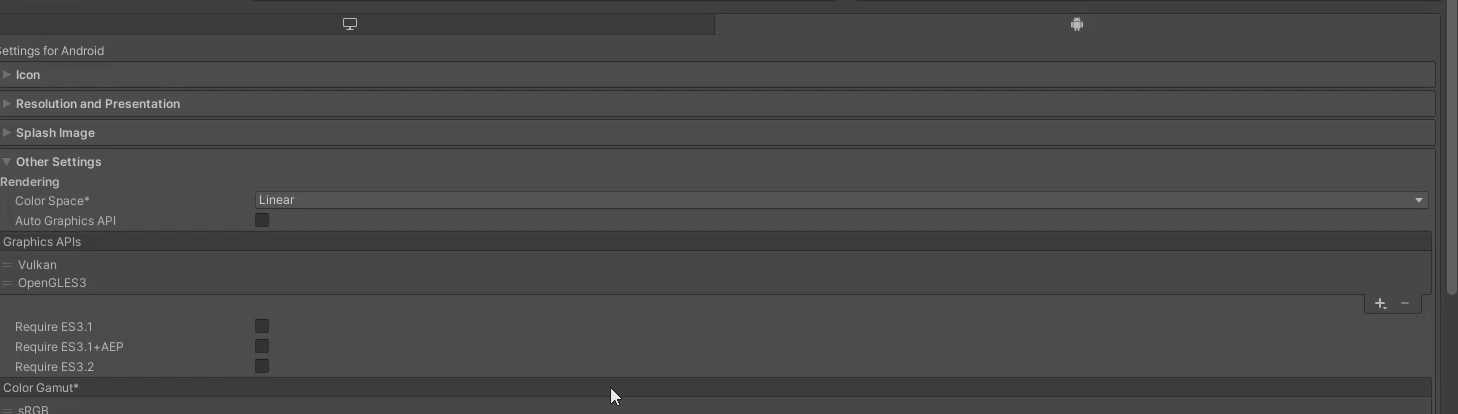
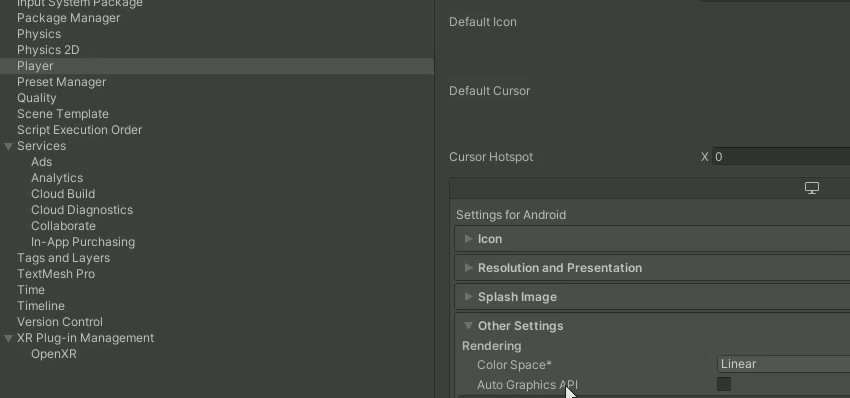
Step4: Choose the Graphics APIs
In Edit > Project Setting > Player > Graphics APIs, choose either OpenGLES or Vulkan and ensure only one of them is chosen.
※ To shorten the build time of the Unity project
,
we recommend
you
choose
only one Graphis API
.
※
If you
do not see the session for choosing Graphics APIs, please
make sure the
Auto Graphics
API
is
unselected
.
(For
more information of what
Auto Graphis API
does, please see
here.
)
Step5: Set the Color Space
If the project is using OpenGLES, please change the Color Space to Linear.
Instead, if the project is using Vulkan, either color space can be used.
Step6: Set API Level
Set Minimum API Level to Android 7.1 'Nougat' (API Level 25) and Target API Level to Android 10.0 'Nougat' (API Level 29) .
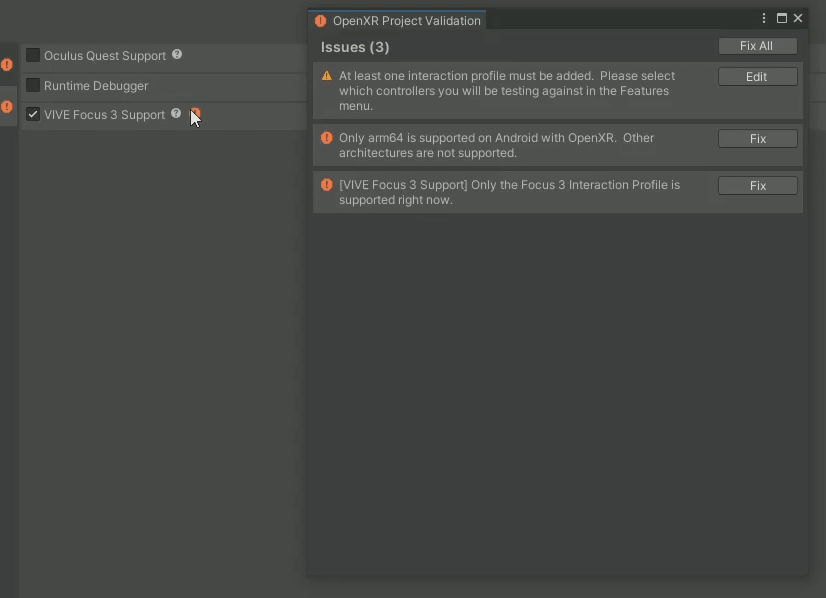
Step7: Enable OpenXR plug-in and VIVE Focus3 Support.
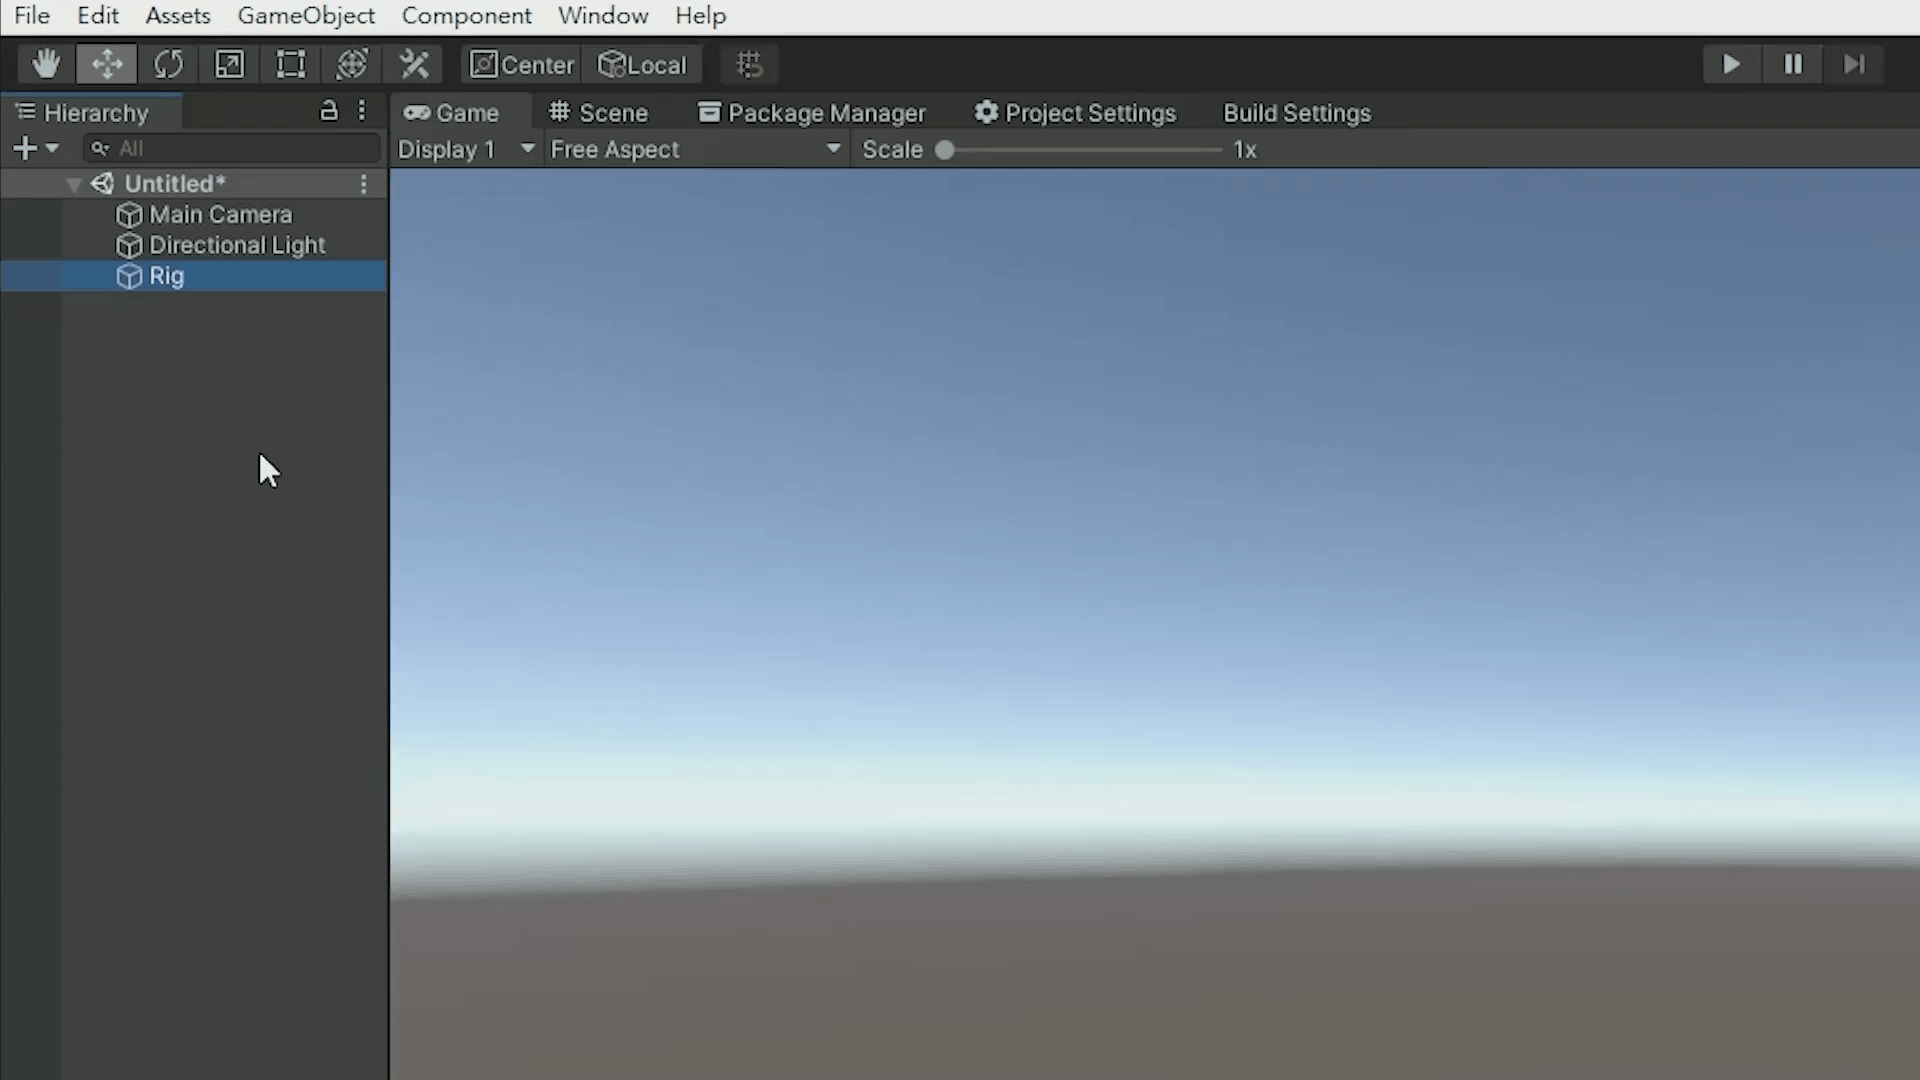
Build Your Avatar
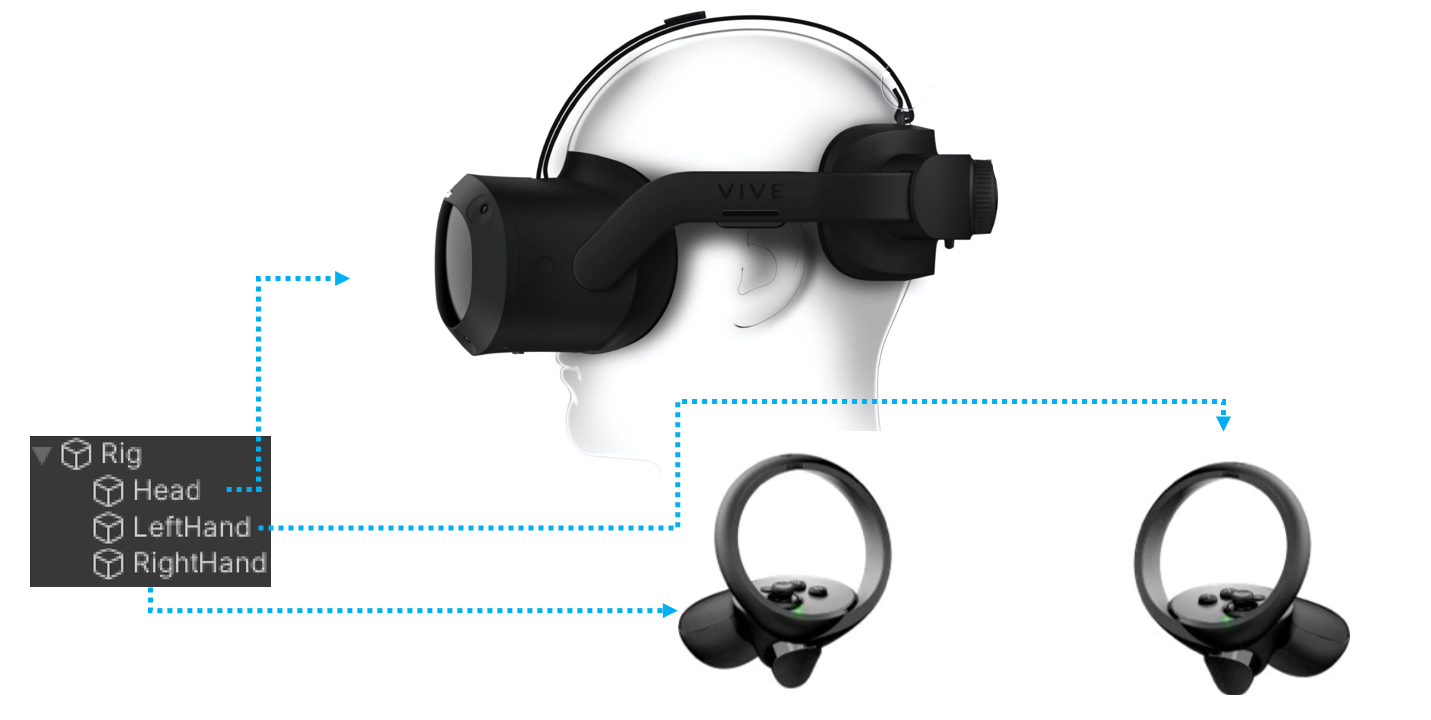
In VR field, there is a kind of structure of GameObjects called Rig. As seen in the picture above, a basic rig contains a head and two hands. The meaning of a Rig is to move the head and the hands when the player move and rotate them in the real world.
Step1: Create a GameObject named Rig
Step2: Create head
Create a gameobject named Head; place Head under Rig. Then, place Main Camera under Head, for Main Camera is the player’s eyes in the VR world.
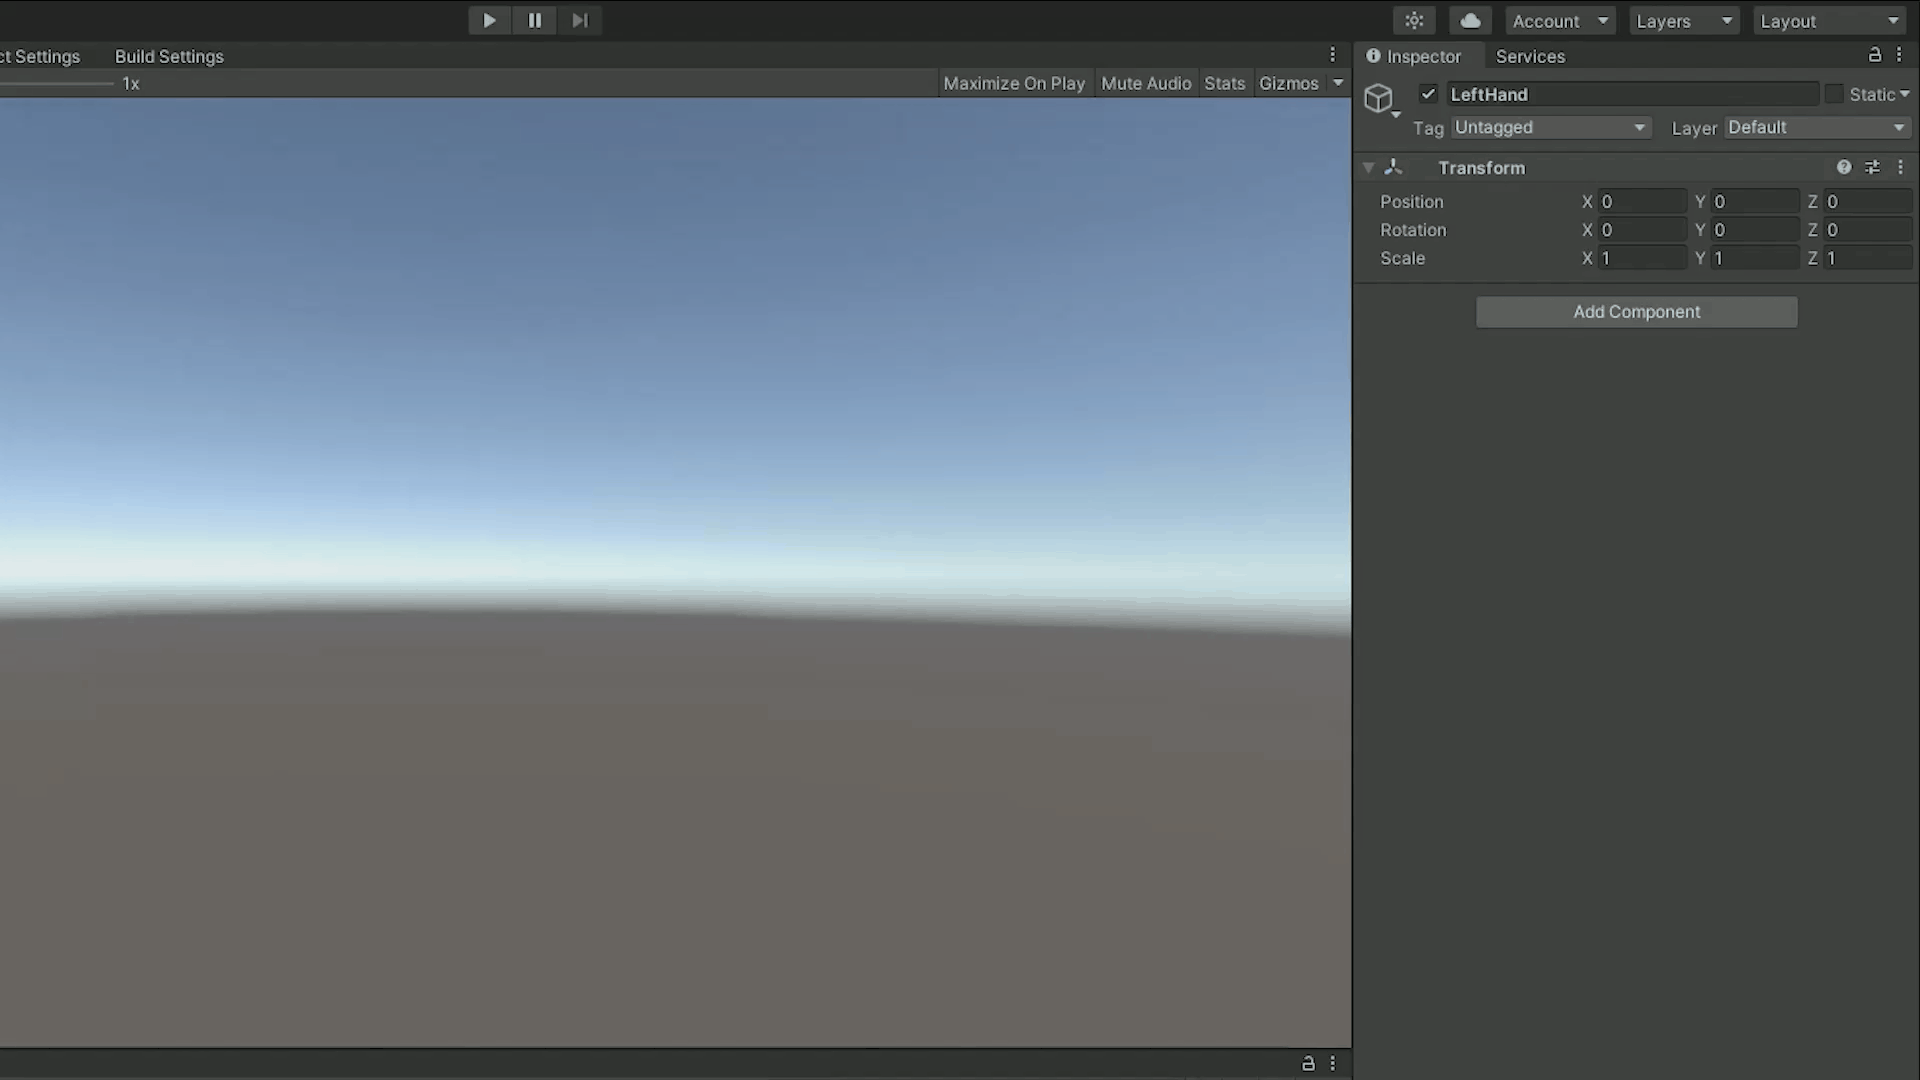
Step3: Create two hands
Create two gameobjects named LeftHand and RightHand; place them under Rig as well.
To see
the hands (the controllers) in the app, you can place simple
game
objects
, such as a cube or a sphere under each hand.

Step4: Attach the component TrackedPoseDriver onto Head, LeftHand and RightHand
TrackedPoseDriver moves and rotates the gameobject it's attached to, depending on the Position Input and the Rotation Input.
-
For the TrackedPoseDriver on Head, add the input from centerEye.
(1) Add Component > Tracked Pose Driver (Input System)
(2) Position Input > Input Action > Add Binding
(3) Position > Binding > Path > XR HMD > centerEyePosition
(4) Rotation > Binding > Path > XR HMD > centerEyeRotation

-
For the TrackedPoseDriver on LeftHand, add the input from LeftHand XR Controller.
(1) Add Component > Tracked Pose Driver (Input System)
(2) Position Input > Input Action > Add Binding
(3) Position > Binding > Path > XR Controller > XR Controller(LeftHand) > devicePosition
(4) Rotation > Binding > Path > XR Controller > XR Controller(LeftHand) > deviceRotation
-
For the TrackedPoseDriver on RightHand, add the input from RightHand XR Controller.
(1) Add Component > Tracked Pose Driver (Input System)
(2) Position Input > Input Action > Add Binding
(3) Position > Binding > Path > XR Controller > XR Controller(RightHand) > devicePosition
(4) Rotation > Binding > Path > XR Controller > XR Controller(RightHand) > deviceRotation

Step5. Now the project can be built and run on Focus3.