Creating a MR World using Planar Passthrough
Hi there, in this session, I would like to talk about how to build a MR World. As a developer, I believe we are all driven into the world of VR when we see how fascinating and vivid the game has become because of virtual reality. However, I think we are all a little frustrated when we come to realize that no matter how limitless our imaginations are in the world of VR, we are still physically bound by the real world. For example, we cannot run, jump, or carry out other actions freely without the fear of accidentally knocking over a glass cup. And what is more dreadful is the fact that we cannot create a world that fits the play areas that different players are in. However, as a developer, we surely won’t let anything stop us from unleashing our imagination, right? Therefore, I am here to offer a solution.
So, if we cannot create our level freely without ignoring the real world objects surrounding the player, then why not just include them in our design? In this article, I want to show you how to create a small game based on the player’s real surroundings using the planar passthrough. The game I am going to create today is a classic Whac-A-Mole game. Now, let us set sail!
Note: If you're not familiar with the Passthrough feature, please go check Passthrough
Step 1. Import the VIVE OpenXR ToolKit Samples - Android package
In this article, we are going to use some assets provided by VIVE OpenXR ToolKit Samples - Android, so please install the package and make sure it's version is 1.0.4 or newer.

Step 2. Create an empty scene and remove the main camera
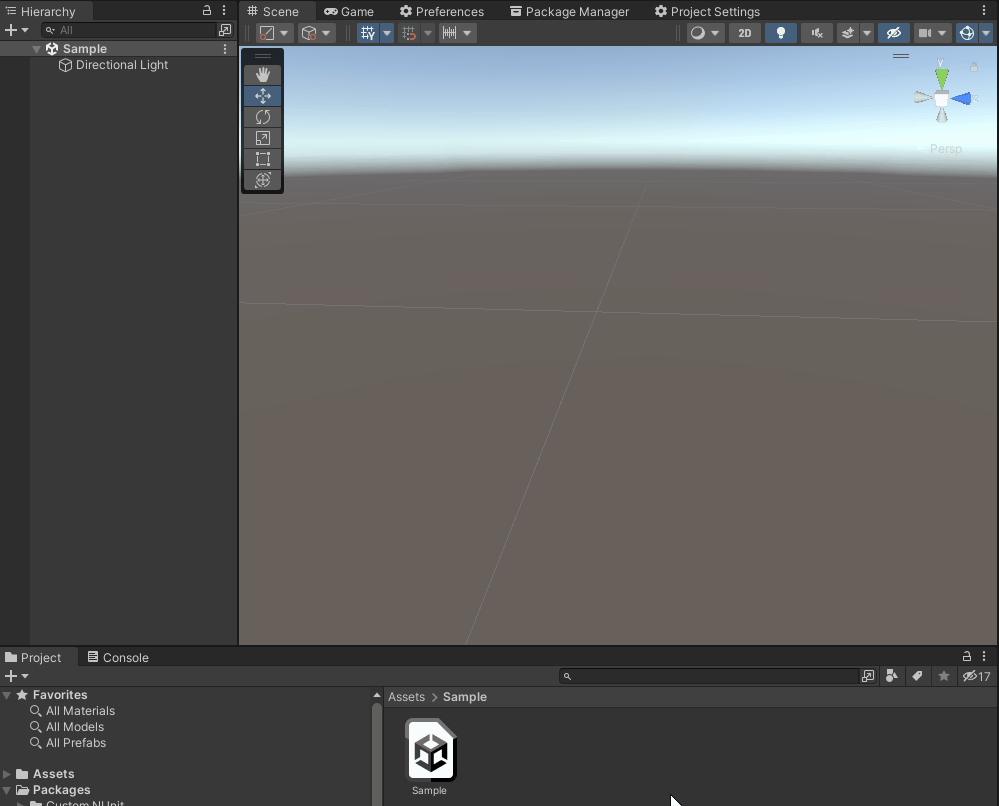
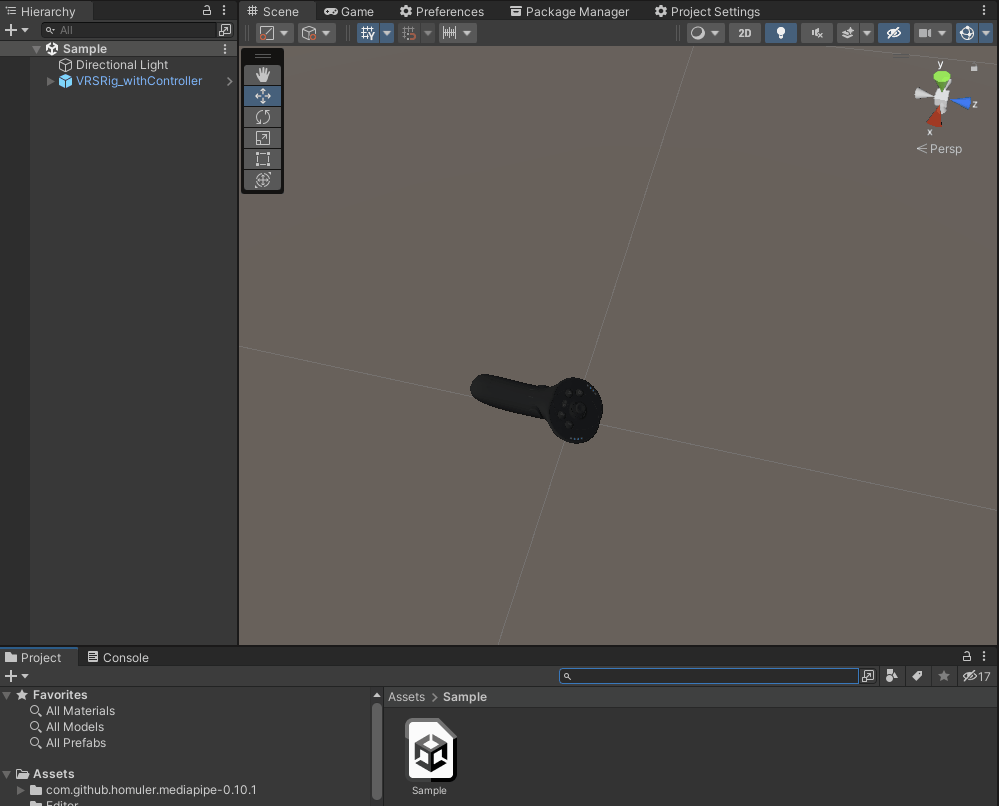
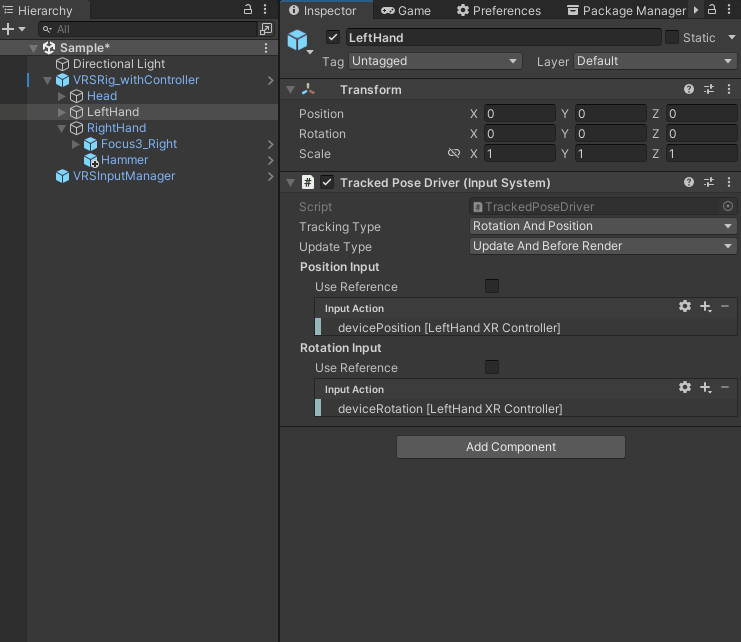
Step 3. Adding a Rig
In the Project window, search for VRSRig_withController and drag it into the scene.
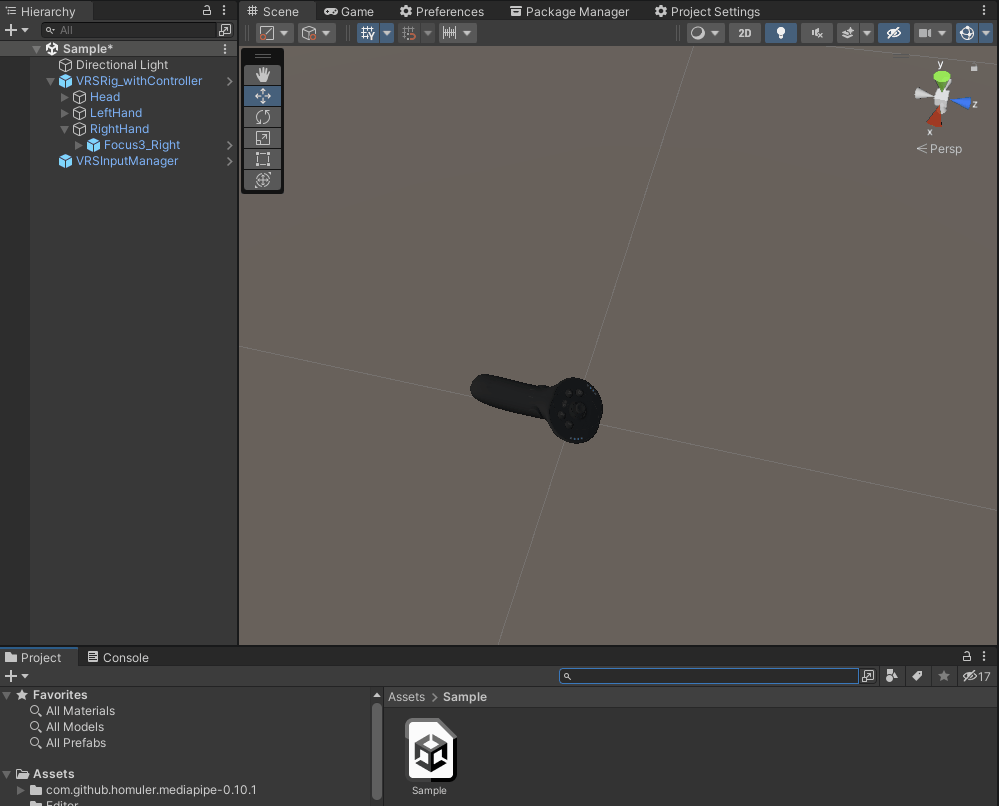
Step 4. Add a VRSInputManager
Again, in the Project window, search for VRSInputManager. The VRSInputManager is a tool provided by VIVE OpenXR ToolKit Samples - Android. This tool configures the basic input, such as buttons, position, and rotation, of Input System for us, so we can use simple APIs to get the inputs we need.
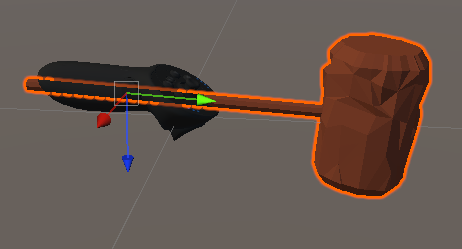
Step 5. Add a Hammer under the right hand
Search for Hammer and add it under the right hand.
Step 6. Adjust the transform of Hammer
Align the transform of Hammer with the controller
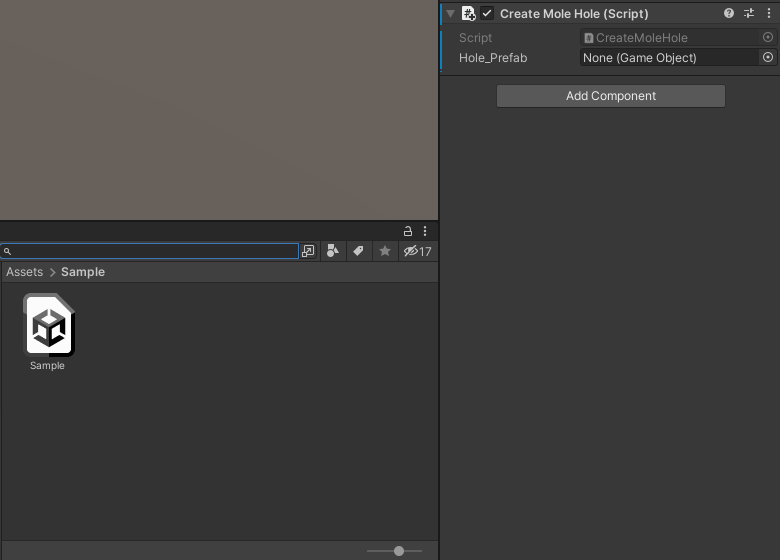
Step 7. Create a Script CreateMoleHole
Step 8. In CreateMoleHole
First, add using namespace Wave.OpenXR.Toolkit.Samples
using Wave.OpenXR.Toolkit.Samples;
Declare a GameObject Hole_Prefab. The prefab object reference will be assigned to Hole_Prefab from the inspector later.
[SerializeField]GameObject Hole_Prefab;
In Update, spawn a MoleHole when the player clicks the left trigger.
    void Update()
    {
        if(VRSInputManager.instance.GetButtonDown(VRSButtonReference.TriggerL))
        {
            Instantiate(Hole_Prefab, VRSInputManager.instance.GetPosition(VRSPositionReference.AimL), Hole_Prefab.transform.rotation);
        }
    }
Step 9. In editor, attach the script to a gameobject and assign the MoleHole
Search for MoleHole and assign it to the script.
Moles will pop up from the hole after a while it was hit by the hammer.
Step 10. Add an planar underlay passthrough
First, create another script named CreatePlanarPassthrough and attach it to any GameObject in the scene.
In the script, add using namespaces.
using Wave.OpenXR.Toolkit.CompositionLayer.Passthrough;
using Wave.OpenXR.CompositionLayer;
Then, in Start, create the passthrough
void Start()
{
    CompositionLayerPassthroughAPI.CreatePlanarPassthrough(LayerType.Underlay);
}
Step 11. Cut a big hole for the player to see the passthrough
Beacuse the passthrough we created using in CreatePlanarPassthrough is a underlay passthrough, so if we don't make a hole in the content layer, the player won't be able to see the passthrough.
Note: If you are not familiar with underlay, please check [UnderstandingOverlayandUnderlay]
To make a big hole, in the inspector of camera, set the clear flag to Solid Color and change the RGBA of color to 0.

Finally, we can run and try out the game!