Hand Tracking
Extension introduces
XR_EXT_hand_tracking allows developers to create an application with hand tracking
Supported Platform and devices
| Platform | Headset | Supported | |
| PC | PC Streaming | Focus3/ XR Elite | V |
| Pure PC | Vive Cosmos | V | |
| Vive Pro series | V | ||
| AIO | Focus3/ XR Elite | V | |
Enable Plugins
- Edit > Plugins > Built-in > Virtual Reality > OpenXRHandTracking to enable hand tracking.
- Note that the " SteamVR " and " OculusVR " plugin must be disabled for OpenXR to work.
- Restart the engine for changes to be executed.
How to use OpenXR Hand Tracking Unreal Feature
- For the available HandTracking functions, please refer to OpenXRHandTracking.h.
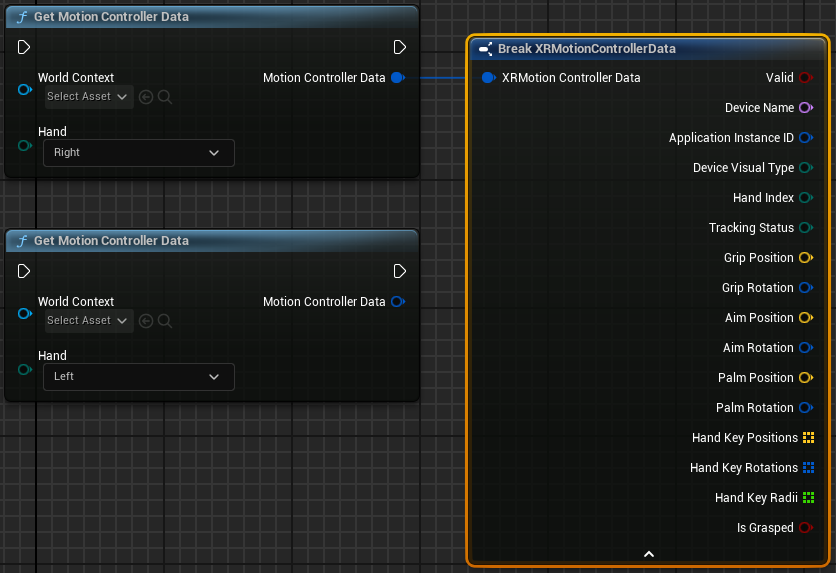
- Detected left- and right-hand results are available from blueprint function Get Motion Controller Data and select left or right Hand.
Simultaneous Interaction (AIO devices only)
To use one hand (OpenXRHandTracking) and one controller simultaneously.
- Select Edit > Project Settings > Plugins > Vive OpenXR > Enable Simultaneous Interaction under Simultaneous Interaction to enable Simultaneous Interaction.
- If disabled, both the left and right hand tracking pose will be invalid when any controller was not put down and keep steady.
Play the sample map
- Make sure the OpenXR Hand Tracking is enabled inside Edit > Plugins > Built-in > Virtual Reality > OpenXRHandTracking.
- The sample map is under Content > HandTracking > Map .
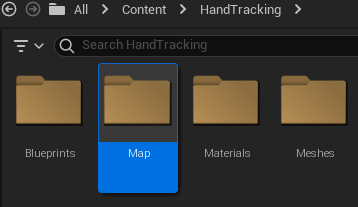
Two maps are provided: HandTrackingMap and IK_HandTrackingMap .
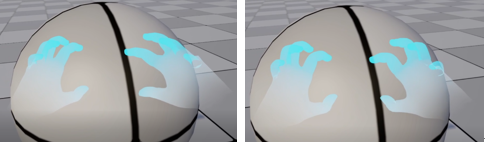
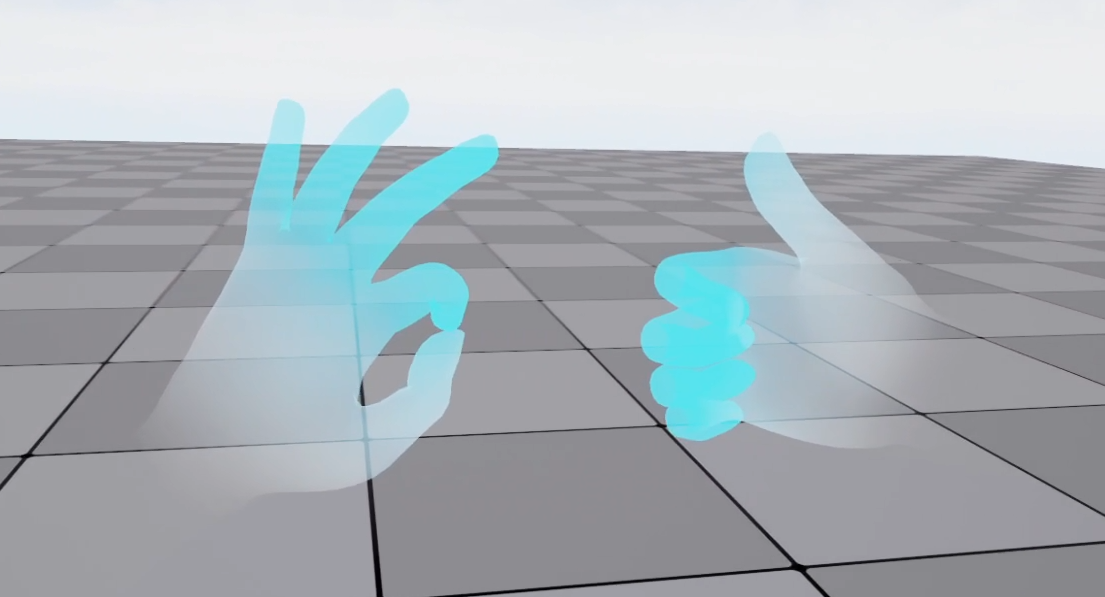
IK_HandTrackingMap demonstrates hand tracking with Inverse Kinematics.
You can see the fingers being blocked by the sphere when you slightly touch it.
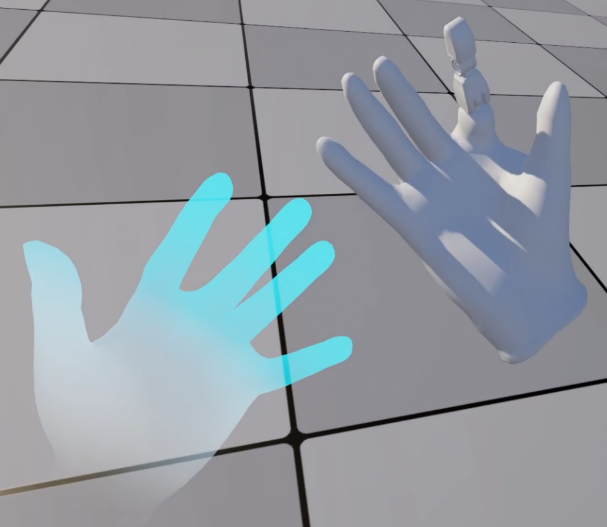
HandTrackingMap demonstrates hand tracking with no Inverse Kinematics.
How to add your own hand mesh
You can refer to IK Rig Animation Retargeting in Unreal Engine | Unreal Engine 5.2 Documentation before starting this section.
-
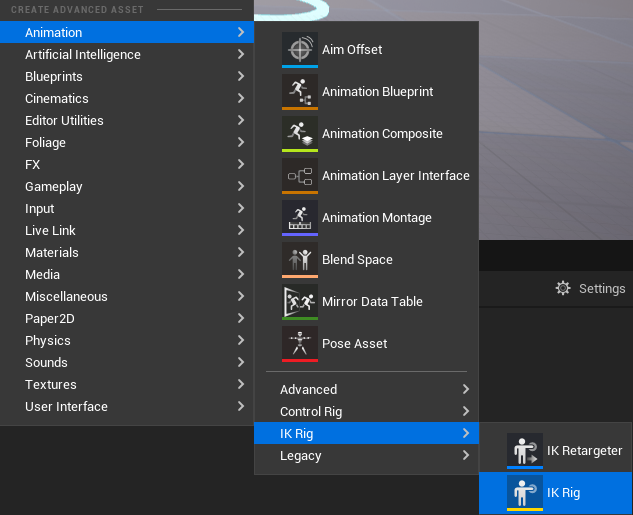
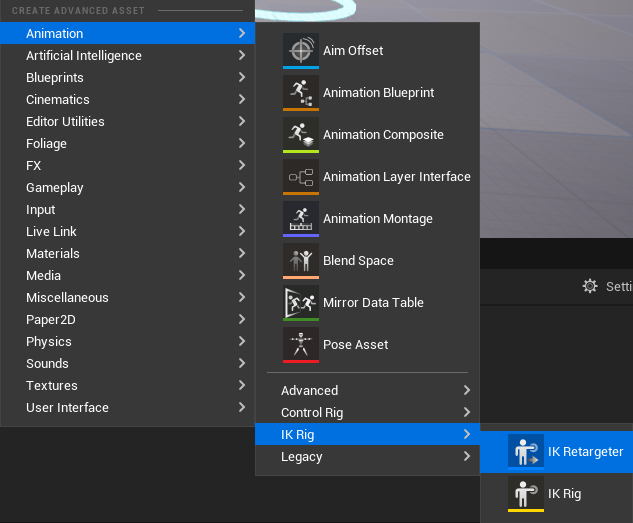
Create IK_Rig for your hand.
i. Right-click on the Content Browser to create an IK_Rig for your hand after importing your hand mesh to the content folder
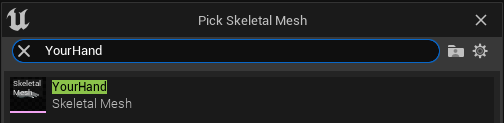
ii. Select your own hand mesh on the following popup window Pick Skeletal Mesh
-
IK_Rig
i. Set retarget root for your hand mesh inside the IK_Rig on the left-side Hierarchy panel,
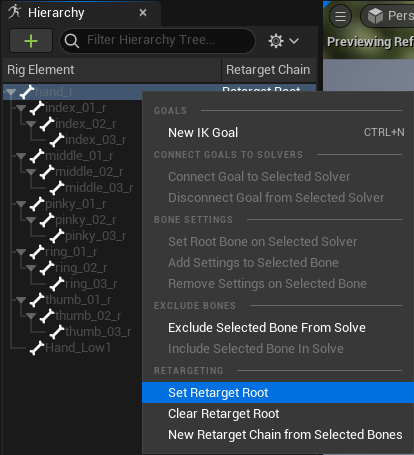
Select all joint points on the same finger.

ii. On the right-side IK Retargeting panel, and press Add New Chain for the joints.
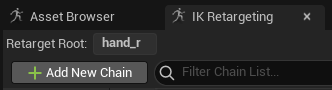
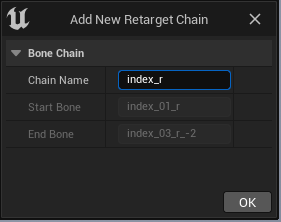
Please follow the naming rule ” fingername_handside ” for example index_r, index_l.Next, on the following popup window Add New Retarget Chain, press OK.
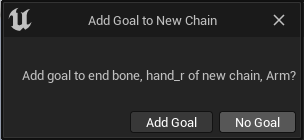
Next, on the following popup window Add Gole to New Chain, select No Goal.
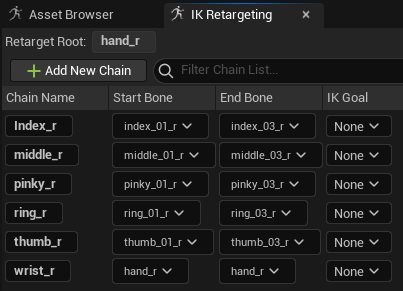
iii. After doing the same steps above for all the fingers, all the retarget chains are shown on the right-side IK Retargeting panel.
-
Create IK_Retargeter for hand mesh.
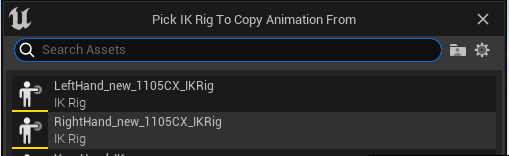
i. Go to Content Browser , and add an IK_Retargeter for your hand mesh.
On the following popup window Pick IK Rig To Copy Animation From Select the source from corresponding hands of 1105CX_IKRig .
On the following popup window Add Height to Retarget Root Pose select Apply Offset.

-
IK Retargeter
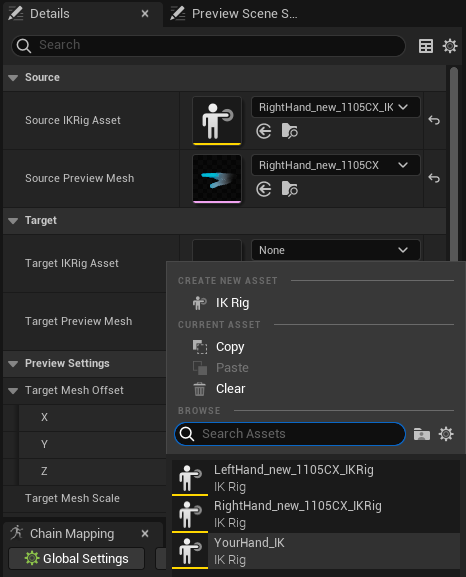
i. Inside the IK Retargeter, on the right-side Details panel > Target, set Target IKRig Asset to the corresponding IK Rig you just created.
On the following popup window Add Height to Retarget Root Pose select Apply Offset.

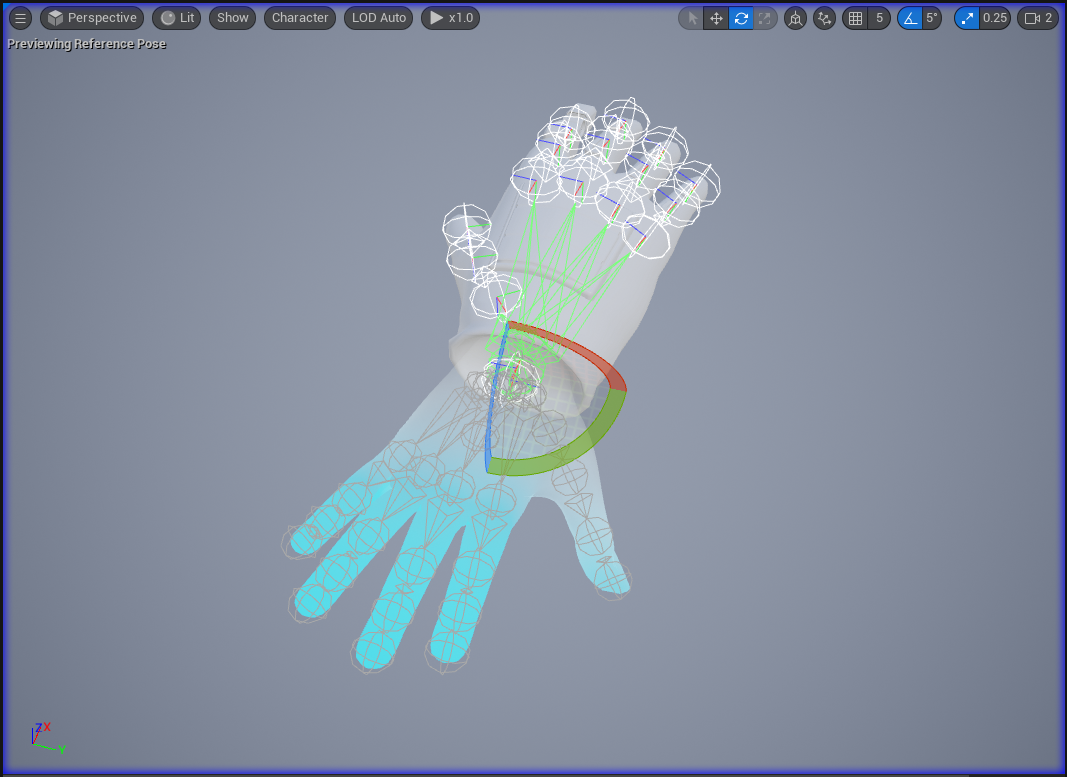
ii. On the left-side, with the Target selected press the Edit mode to adjust the Target hand default pose.
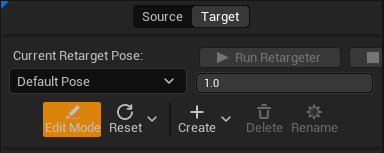
Notes: The more similar the adjustment is to the source, the better the result will be.
For example, because the target wrist axial is different from the source, you need to adjust the rotation of the target hand mesh to make it similar to the source hand mesh.
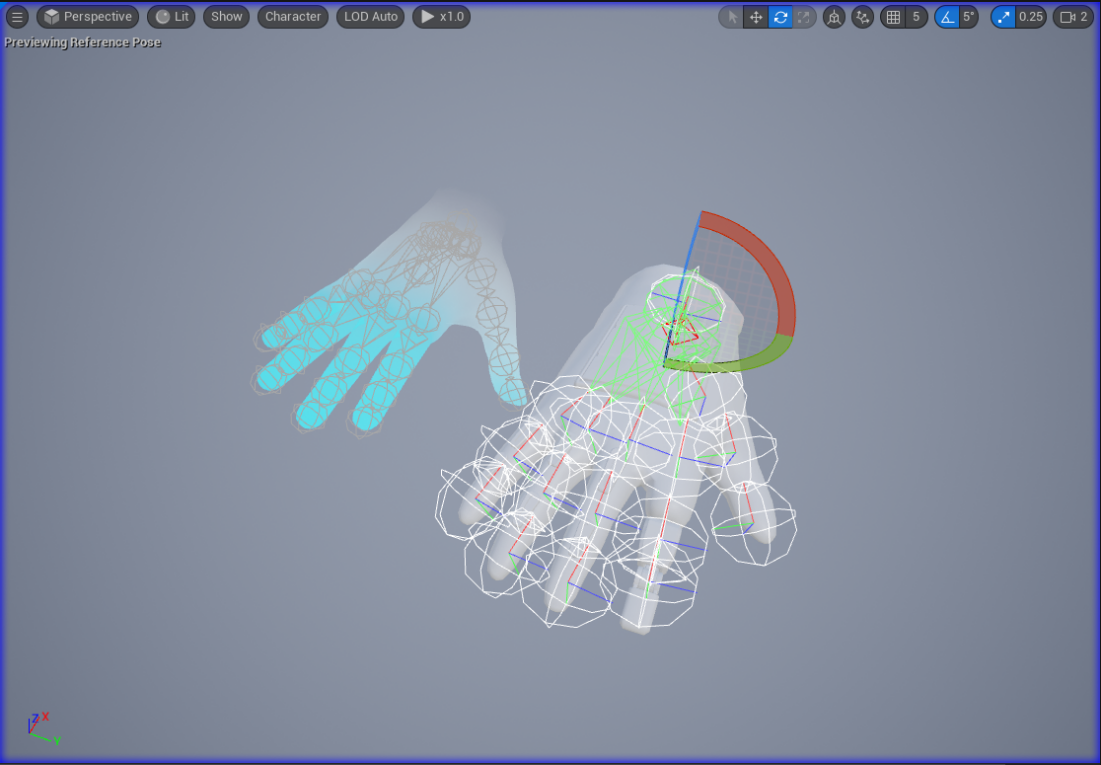
On the right-side Details panel > Preview Settings , you can move the target offset to the right or left to have a better view.
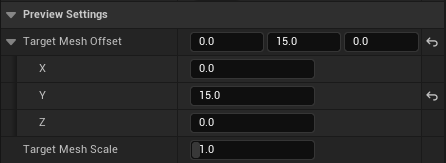
like this.
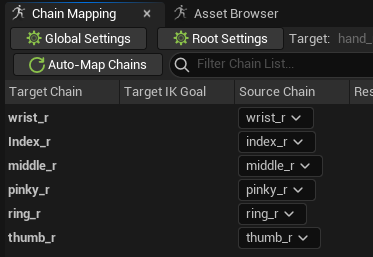
iii. Next, on the right-side Chain Mapping panel, make sure all the target chains are lined up with the same finger to the Source , if the chain is not correct, you can press the Auto-Map Chains button to fix the incorrect chains or select by yourself.
-
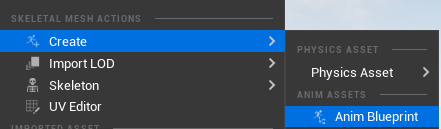
Create an Animation Blueprint.
i. Back to the Content Browser, find your hand mesh and right-click on it to create an Animation Blueprint for your hand mesh.
-
Animation Blueprint settings.
i. Open up the Animation Blueprint, inside AnimGraph right-click to search for the Retarget Pose From Mesh.
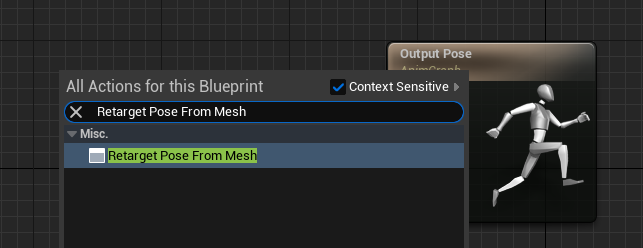
Connect the Retarget Pose from Mesh to the Output Pose.
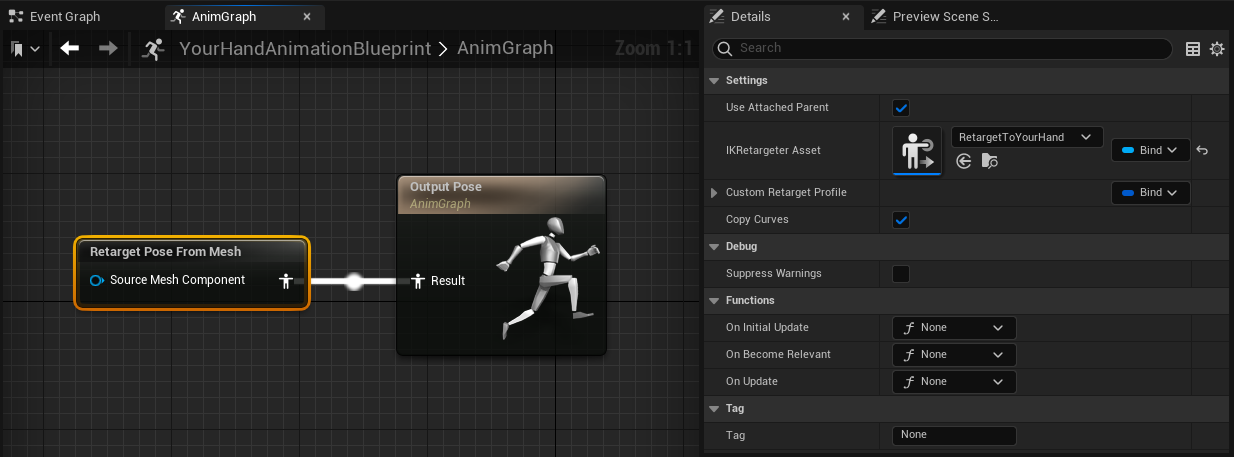
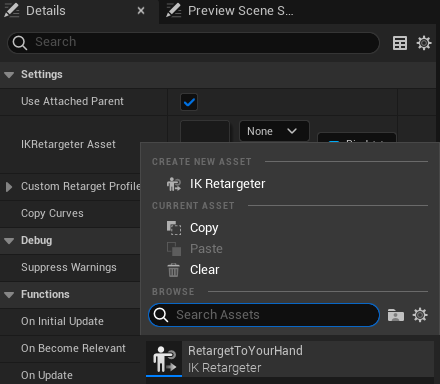
ii. With the Retarget Pose From Mesh selected, inside Details panel > Settings select the IKRetargeter Asset to the one you just created for your own hand mesh, and enable the Use Attached Parent above.
-
Attach your hand mesh to the
i. Back to the Content Browser, inside Content > HandTracking > Blueprints > BP_RiggedHandRenderModel_AnimIK_R (L), open the blueprint, on the left -side Components panel with the SkeletalMesh_Hand selected.
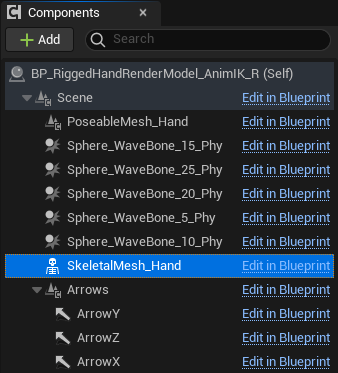
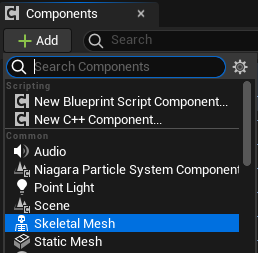
Click Add to add a child SkeletalMesh to the SkeletalMesh_Hand .
Make sure your SkeletalMesh is the child of the SkeletalMesh_Hand .

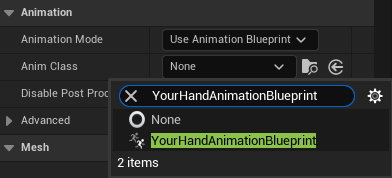
With Your skeletal hand mesh selected on the right-side Details panel > Animation, select the Anim Class to the Animation Blueprint you just created for your own hand mesh.
-
Play to see the results.
i. Back to IK_HandTrackingMap and hit the play button.