Passthrough
Extension introduces
XR_HTC_passthrough allows developers to create an application with Passthrough (Underlay for now). Passthrough Underlay is a feature that shows passthrough image under content layer.
Supported Platforms and devices
| Platform | Headset | Supported | |
| PC | PC Streaming | Focus3/ XR Elite | △ ※ |
| Pure PC | Vive Cosmos | X | |
| Vive Pro series | X | ||
| AIO | Focus3/ XR Elite | V | |
※PC Streaming only supports Planar Passthrough.
Enable Plugins & Project Settings
- Edit > Plugins > Search for OpenXR and ViveOpenXR and make sure they are enabled.
- Note that the " SteamVR " and " OculusVR " plugin must be disabled for OpenXR to work.
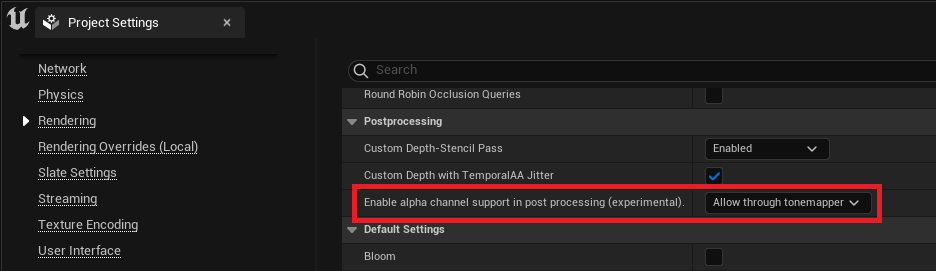
- For PC streaming, please change the setting:
Edit > Project Settings > Rendering > Postprocessing
Set Enable alpha channel support in post processing (experimental) to Allow through tonemapper.
- Restart the engine for the changes to take effect.
How to use OpenXR Passthrough Unreal Feature
- Please make sure ViveOpenXR is enabled.
- Edit > Project Settings > Plugins > Vive OpenXR > Click Enable Passthrough under Passthrough to enable OpenXR Passthrough extension.
- Restart the engine to apply new settings after clicking Enable Passthrough.
- For the available Passthrough functions, please refer to ViveOpenXRPassthroughFunctionLibrary.h.
-
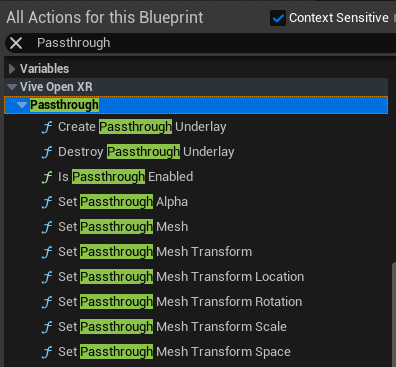
Passthrough Blueprint functions.
Type Passthrough to get the Passthrough blueprint functions your content needs.
i. Create Passthrough Underlay
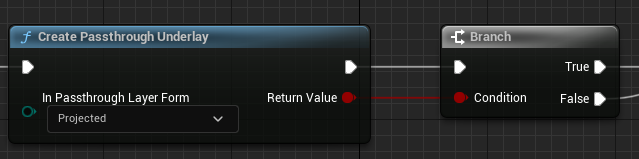
Use this function to create a Passthrough Underlay .
The InPassthroughLayerForm parameter specifies the type of Passthrough Underlay to be created.
Planar: a full screen passthrough that covers the entire FOV.
Projected: a passthrough only covers part of the FOV, in which the area is determined by a custom mesh and its transform.ii. Destroy Passthrough Underlay
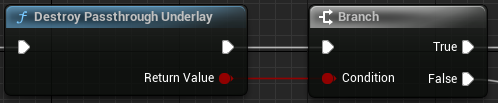
Use this function to destroy any Passthrough Underlay created previously.iii. Is Passthrough Enabled

Use this function to check if the Passthrough feature is enabled or not.iv. Set Passthrough Alpha
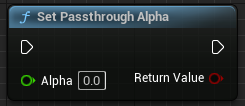
Use this function to set the opacity of the Passthrough Underlay.
The “alpha” parameter specifies the target opacity (Clamped to range [0,1]).v. Set Passthrough Mesh
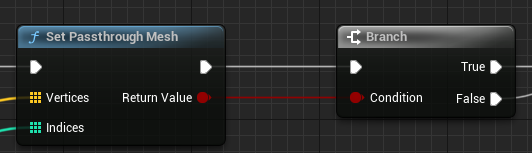
Use this function to specify the mesh data of the customized mesh for Projected Passthrough Underlay.
“ vertices ” specifies the vertices of the mesh.
“ indices ” specifies the triangle indices of the mesh.
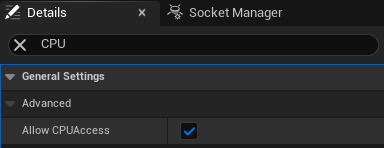
Note: If you derive vertices and indices from GetSectionfromStaticMesh.
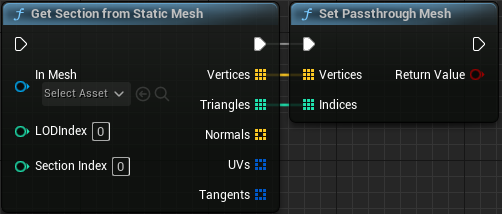
Please make sure the setting Allow CPUAccess of the static mesh which In Mesh referenced is enabled . The setting is at Details > Advanced of the static mesh asset.
vi. Set Passthrough Mesh Transform
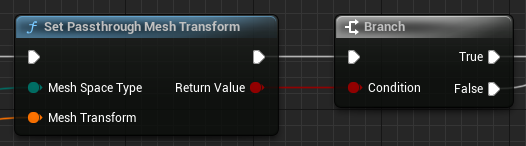
Use this function to set the space type and the transformation of the mesh to be used by Projected Passthrough Underlay.
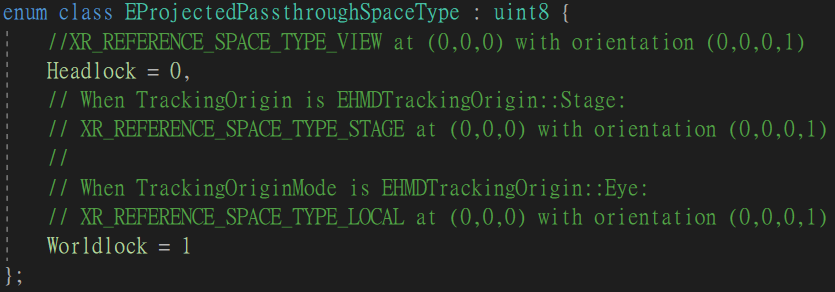
” meshSpaceType ” specifies the XrSpace configuration to be used by Projected Passthrough Underlay, which is defined as follows:
vii. Set Passthrough Mesh Transform Location
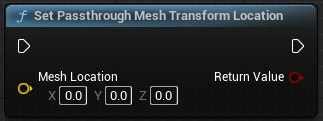
Use this function to set the scale of the Projected Passthrough Underlay.viii. Set Passthrough Mesh Transform Rotation
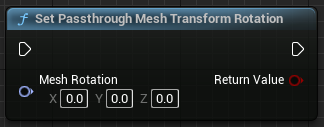
Use this function to set the orientation of the Projected Passthrough Underlay.ix. Set Passthrough Mesh Transform Scale
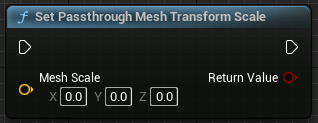
Use this function to set the scale of the Projected Passthrough Underlay.x. Set Passthrough Mesh Transform Space
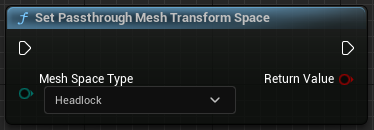
Use this function to set the space type to be used by Projected Passthrough Underlay.
Refer to “ vi. ” for details on “meshSpaceType”. -
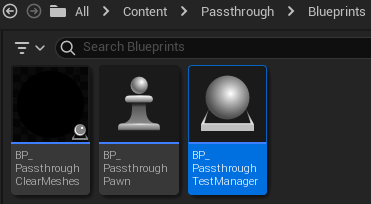
You can refer to Content > Passthrough > Blueprints > BP_PassthroughTestManager for the use of the blueprint functions above.
Play the sample map
- Make sure the OpenXR Passthrough extension is enabled, the setting is in Edit > Project Settings > Plugins > Vive OpenXR .
-
The sample map is under Content > Passthrough > Map .

-
Sample map controls.
Right A Press: StartPlanarPassthrough.
Right B Press: StartProjectedPassthrough.
Right Thumb Stick: Move ProjectedPassthrough mesh.
Left Thumb Stick: Rotate ProjectedPassthrough mesh. - Start playing the Passthrough map, press A you will see the PlanarPassthrough , and press B you will see the ProjectedPassthrough, you can also push the left and right controller thumb stick to move and rotate the passthrough mesh.