Scene Understanding
Extension introduction
XR_MSFT_scene_understanding demonstrates configuring, calculating, and generating meshes of surrounding environments.
Supported Platforms and devices
| Platform | Headset | Supported | |
| PC | PC Streaming | Focus3/ XR Elite | X |
| Pure PC | Vive Cosmos | V | |
| Vive Pro series | V | ||
| AIO | Focus3/ XR Elite | X | |
Enable Plugins
- Edit > Plugins > Search for OpenXR and ViveOpenXR, and make sure they are enabled.
- Note that the " SteamVR " and " OculusVR " plugin must be disabled for OpenXR to work.
- Restart the engine for changes to take effect.
How to use OpenXR Scene Understanding Unreal Feature
- Make sure ViveOpenXR is enabled.
- Edit > Project Settings > Plugins > Vive OpenXR > Click Enable Scene Understanding under Scene Understanding to enable OpenXR Scene Understanding extension.
- Restart the engine to apply new settings after clicking Enable Scene Understanding .
- For the available SceneUnderstanding functions, please refer to ViveOpenXRSceneUnderstandingFunctionLibrary.cpp.
-
Type
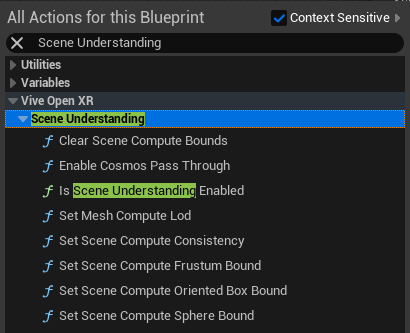
Scene Understanding
to get the
Scene Understanding
blueprint functions your content needs.
-
Clear Scene
Compute Bounds
Use this function to clear the Compute Bounds when end playing.

-
Is Scene Understanding Enabled

Use this function to check if Scene Understanding extension is enabled.
-
Set Mesh Compute Lod
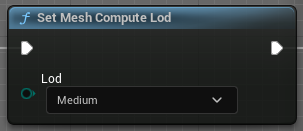
Use this function to adjust how detailed your compute mesh will be generated.
-
Set Scene Compute Consistency
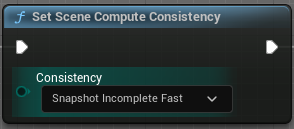
Use this function to decide different scene compute consistencies that may be passed.
More details on OpenXR specification: The OpenXR™ Specification (khronos.org)
-
Set Scene Compute Frustum Bound
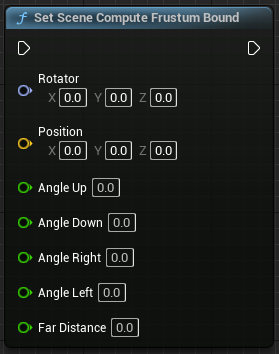
Use this function to adjust the pose, the field of view, and the far distance of frustum bounds.
More details on OpenXR specification: The OpenXR™ Specification (khronos.org)
-
Set Scene Compute Oriented Box Bound
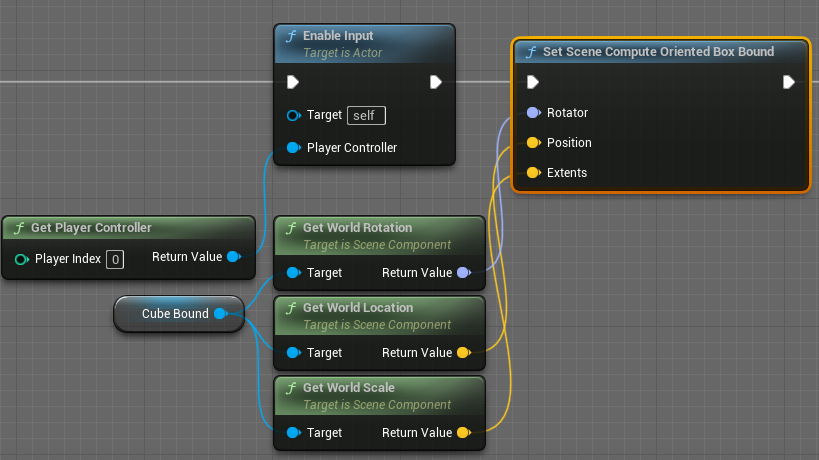
Use this function to adjust the pose and extent of an oriented box bounds.
-
Set Scene Compute Sphere Bound
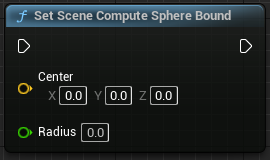
Use this function to adjust the center and radius of a sphere bounds.
-
Clear Scene
Compute Bounds
-
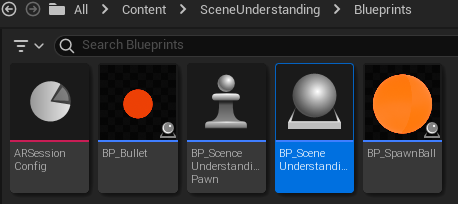
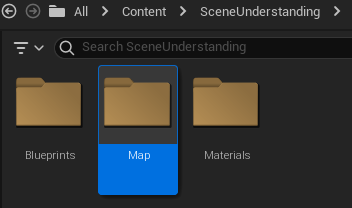
Find the blueprint sample
BP_SceneUnderstanding
under
Content
>
SceneUnderstanding
>
Blueprints
.
-
Show
Scene Understanding
scanned mesh in the game
-
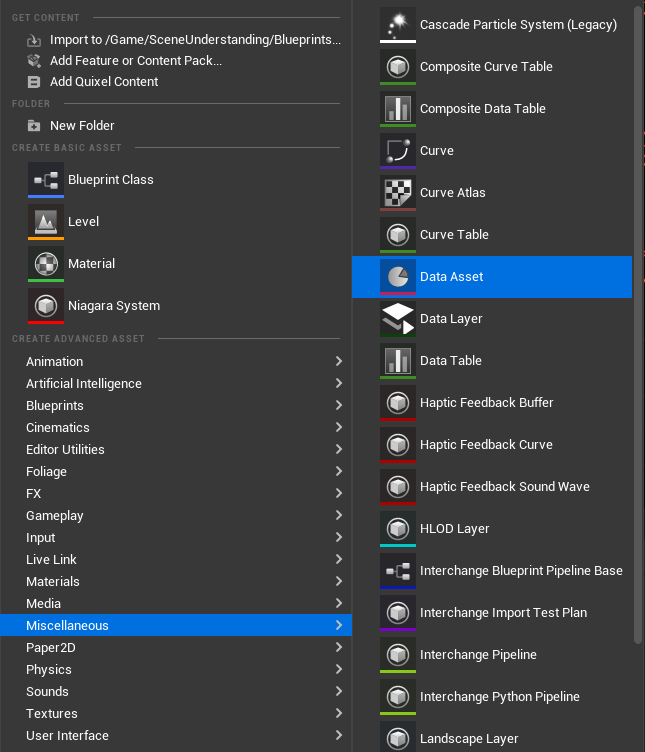
Right-click on the
Content Browser
to
create an AR Session
.
The AR-related content needs to be set here because the OpenXR Scene Understanding uses OpenXRARTrackedGeometry to make the scanned meshes appear in the level.
-
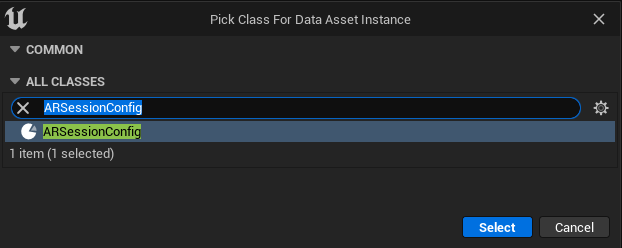
Next, on the following popup window
Pick Class For Data Asset Instance
, select
ARSessionConfig
.
-
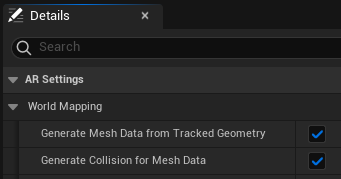
Open ARSessionConfig and enable
“ Generate Mesh Data from Tracked Geometry ”
and
“ Generate Collision for Mesh Data ”
under
Details Panel
>
AR Settings
>
World Mapping.
-
Open Level Blueprint and add
Start AR Session
and
Stop AR Session.
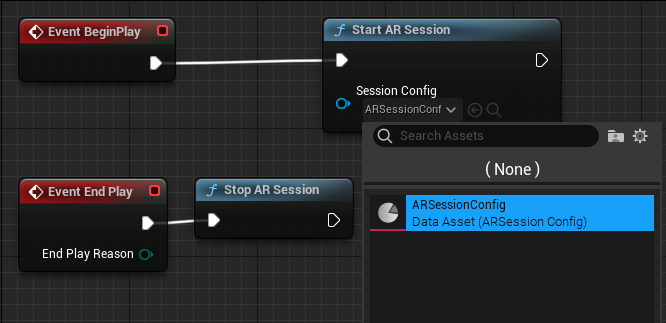
Remember to set the “ ARSessionConfig ” as input to Start AR Session.
-
Back to the
Content Browser
right click to create a
Blueprint Class,
this will be the
Scene Understanding control
.
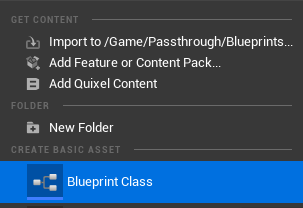
Next, on the following popup window ” Pick Parent Class “ , select Actor .

Named it BP_ SceneUnderstanding.
-
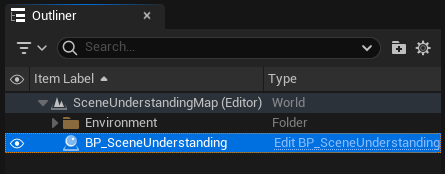
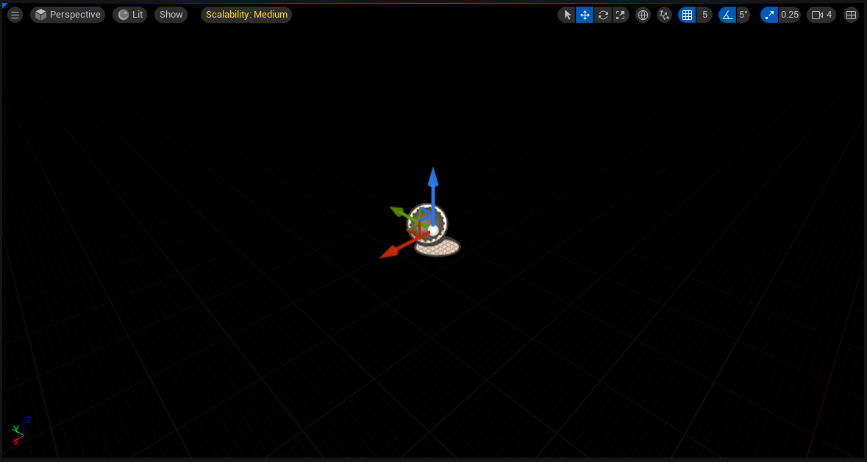
Place the
BP_
SceneUnderstanding
you just created on the
Scene Understanding
Map
.
-
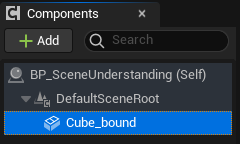
Open up the
BP_
SceneUnderstanding
,
on the left side
Components panel,
press the
Add button
to add a
Cube Static Mesh Component
for
Set Scene Compute Oriented Box Bounds
.
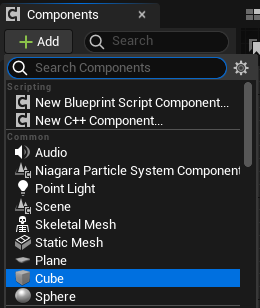
Name it Cube_bound.
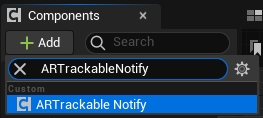
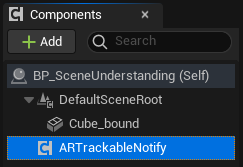
-
Next, add
ARTrackableNotify
Component in
Components panel
.
-
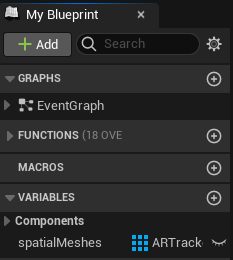
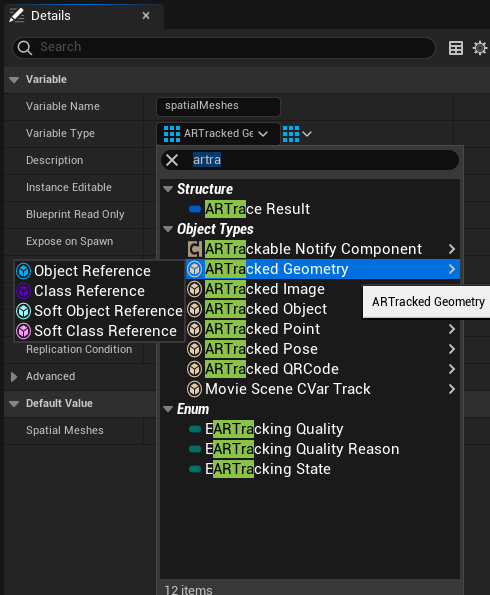
Add a new variable and name it
“ spatialMeshes ”
with type
“ ARTrackedGeometry Array ”
in
My Blueprint
.
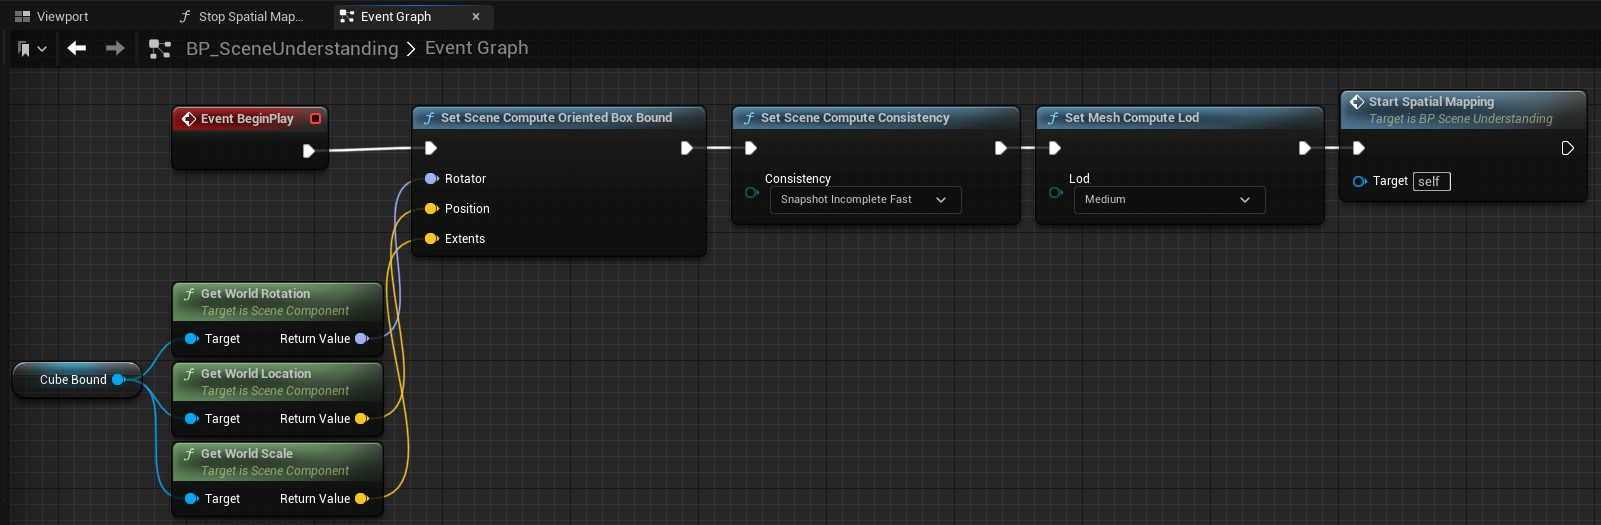
-
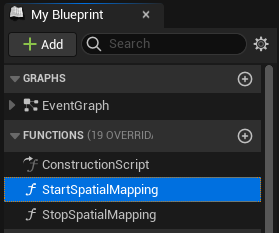
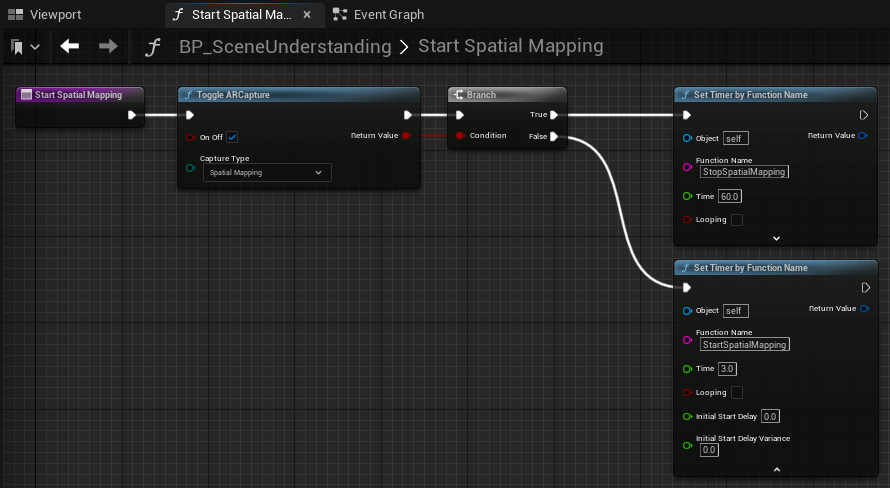
Add a function and name it
“ StartSpatialMapping ”
in
My Blueprint
In this function, we need to call
“ Toggle ARCapture ”
function and set input
“ On Off ”
bool to
true
and
“ Capture Type ”
to
Spatial Mapping.
-
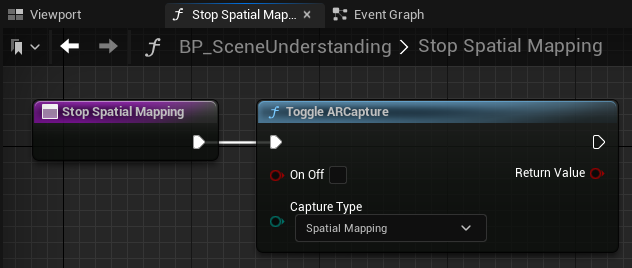
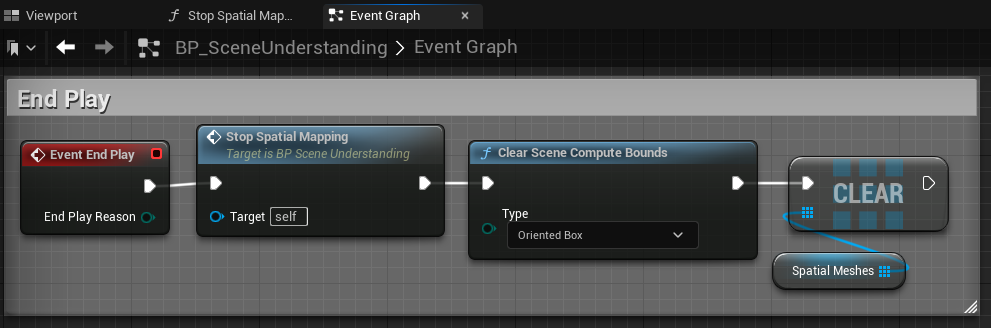
Add a function and name it “
StopSpatialMapping
” in
My Blueprint
In this function, we need to call “
Toggle ARCapture
” function and set input “
On Off
” bool to
false
and “
Capture Type”
to
Spatial Mapping
.

-
Add some functions that affect the
quality
and
area
of the scanned mesh.
-
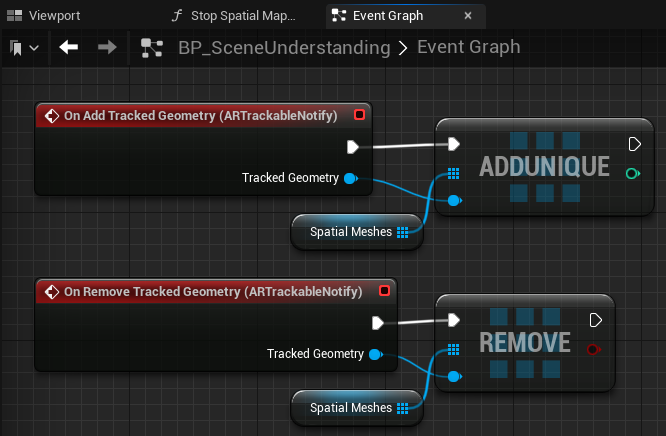
On Add/Remove Tracked Geometry (ARTrackableNotify)
,
these two
Events
control the number of mesh currently scanned.
-
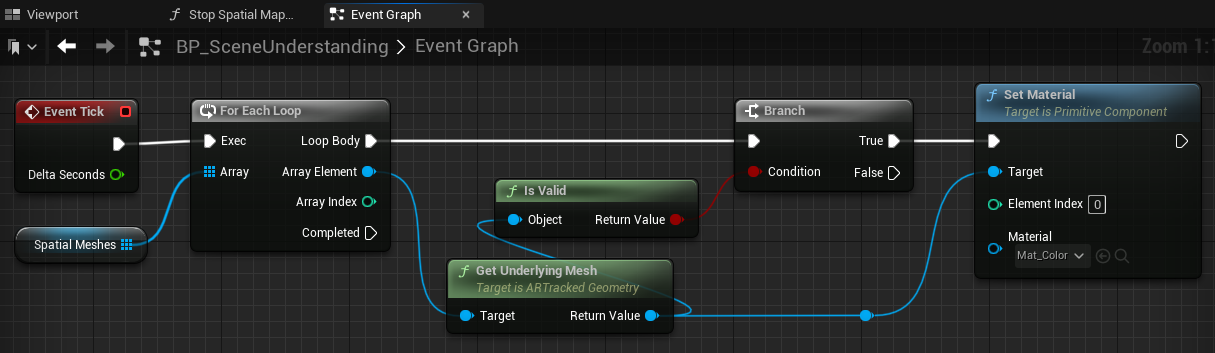
You can get the current
Spatial Meshes
and
Set Material
on them using
Event Tick
.
-
Call
Stop Spatial Mapping
function and clear the bound you use at the beginning.
-
Right-click on the
Content Browser
to
create an AR Session
.
Play the sample map
- Make sure the OpenXR Scene Understanding extension is enabled, the setting is in Edit > Project Settings > Plugins > Vive OpenXR .
-
The sample map is under
Content
>
SceneUnderstanding
>
Map
.
-
Sample map controls.
Grip: Shoot balls to overlap OpenXR scene understanding snapshot mesh.
Trigger: Spawn a green ball at the hit point of the line trace.
Keyboard A or Keyboard S: Switch OpenXR scene understanding snapshot mesh's start spatial mapping / stop spatial mapping. -
Start playing the
SceneUnderstanding
map, you will see analyze objects in context with respect to the 3D structure of the scene, its layout, and the spatial, functional, and semantic relationships between objects, try to press the grip button and the trigger button to shoot balls and lasers and hit OpenXR scene understanding snapshot mesh.
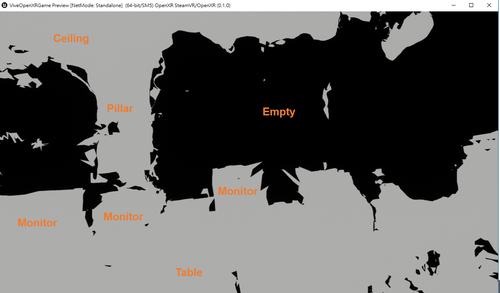
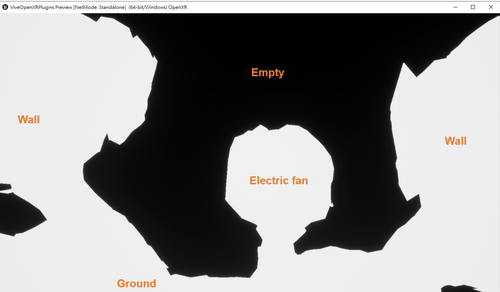
Note: White area indicates that meshes represent the real-environment objects while black area shows no objects in the space.