Getting Started with XR Interaction Toolkit and Wave
What will you learn?
You will learn how to integrate the XR Interaction Toolkit with your Wave project.
Note: In this tutorial we will use Unity 2021.3.9f1 and VIVE Devices.
Setup Project
Download the Vive Wave XR Plugin here.
Setup controller interactions with Unity’s XR Interaction Toolkit
-
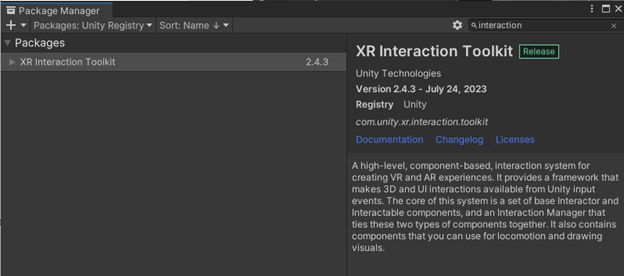
In Package Manager, install Unity’s XR Interaction Toolkit from Unity registry.
-
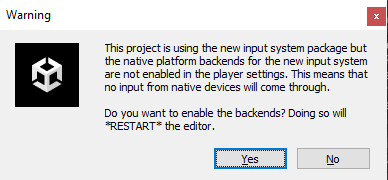
Click Yes on the new input system warning message prompt.
-
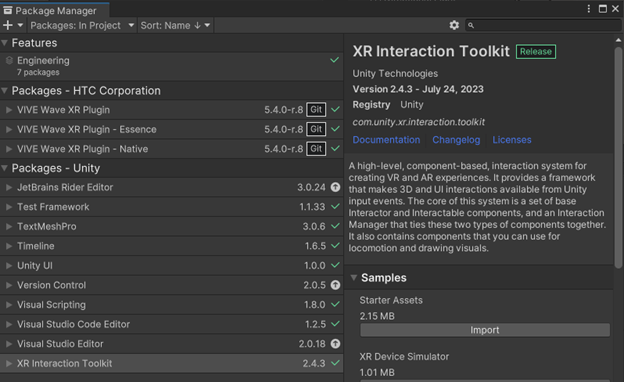
In Package Manager, import the Starter Assets sample into the project.
-
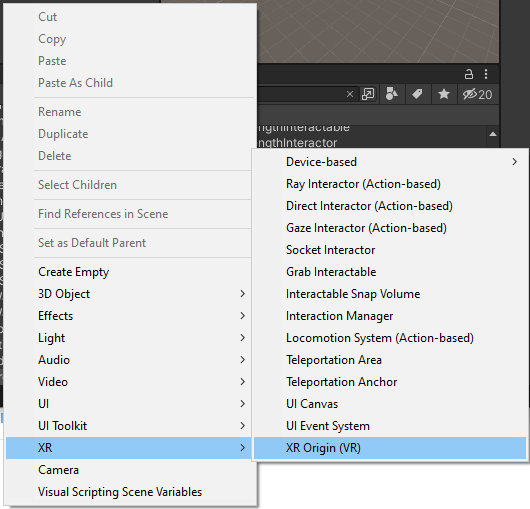
You can use a custom XR Rig, the Wave Rig or the XR Rig that’s provided with the XR Interaction Toolkit. In this tutorial, we will use the XR Rig provided by the toolkit. Right-click in the Hierarchy window and select XR > XR Origin (VR).
-
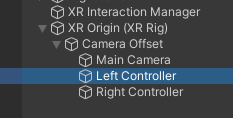
You will see the XR Origin (XR Rig) gameobject is added to the Hierarchy window, as well as the XR Interaction Manager gameobject.
-
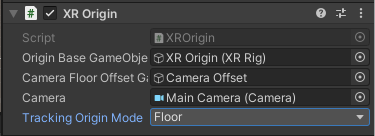
Set the Tracking Origin Mode to Floor on the XR Origin gameobject.
-
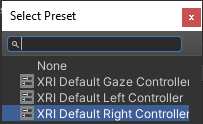
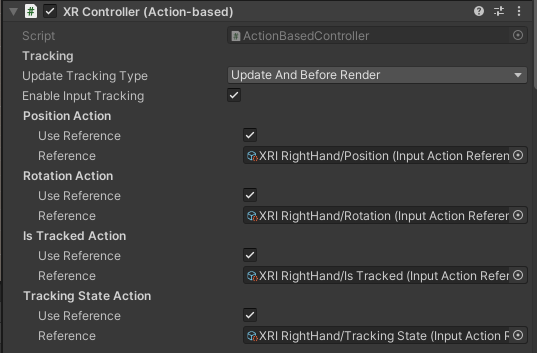
Select the Right Controller gameobject under XR Origin (XR) > Camera Offset. On the XR Controller (Action-based) script, click the Preset selector (the slider icon) at the top-right of the component in the Inspector window. Select the XRI Default Right Controller preset. You should see all the references in the XR Controller script should now be updated.

-
Select the Left Controller gameobject under XR Origin (XR) > Camera Offset. On the XR Controller (Action based) script, click the Preset select (the slider icon) at the top-right of the component in the Inspector window. Select the XRI Default Left Controller preset.
-
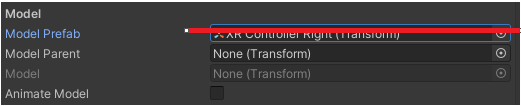
On the XR Controller Action script for each controller, delete the reference for Model Prefab.
-
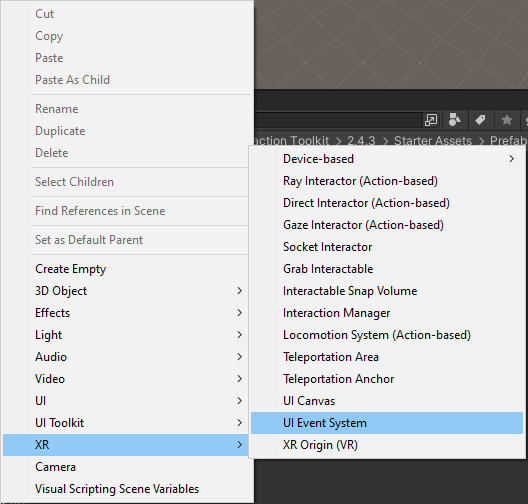
You can also delete the EventSystem gameobject from the Hierarchy window. Right-click in the Hierarchy and select XR > UI Event System.
-
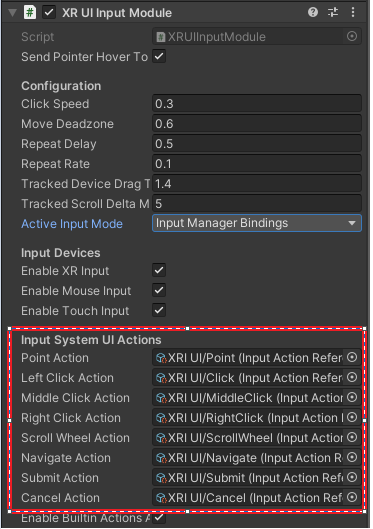
Select the new EventSystem gameobject. On the XR UI Input module script, update the Input System UI Actions references.
-
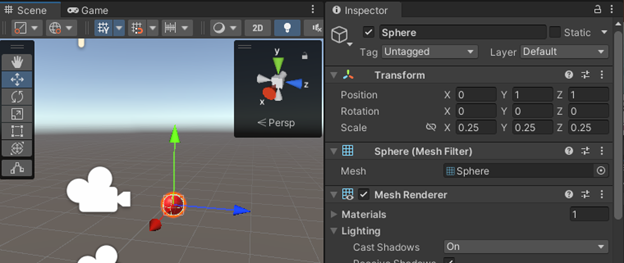
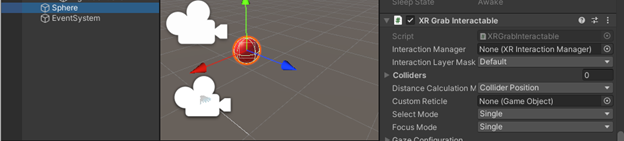
Add a sphere to the scene. Set the position to 0, 1, 1. Set the scale to the .25, .25, .25. Create a red material and add it to the sphere.
-
Add an XR Grab Interactable script to the sphere.
-
Add a 3D plane gameobject to the scene for the ball to rest on. Build and deploy the apk to the headset. At this point, the headset is being tracked, the controllers are being tracked and you should be able to pick up the sphere using the grab button.
-
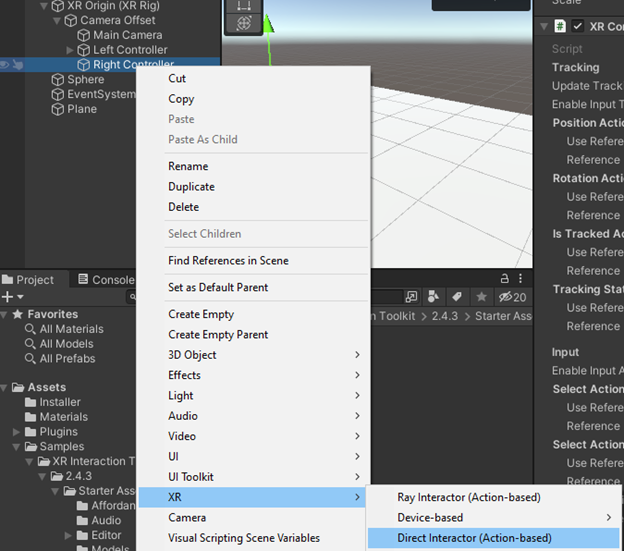
To grab objects when they are close, you can add a Direct Interactor gameobject to each controller. In the Hierarchy, right-click on the Right Controller and select XR > Direct Interactor (Action-based). Do the same for the Left Controller.
-
Select the Direct Interactor gameobject on the Right Controller and remove the XR Controller (Action-based) script from it because the parent gameobject already has that script. Update the Interaction Manager reference. Remove XR Controller (Action-based) script from the Left Controller and update the Interaction Manager reference. Build and deploy the apk.
