Hand Tracking
What will you learn?
You will learn how to setup hand tracking in your project.
Note: In this tutorial we will use Unity 2021.3.9f1 and VIVE Devices.
What is Hand Tracking?
In this session, let's learn how to use Hand Tracking, which is a feature that enables applications to locate the individual joints of hand tracking inputs and render hands. Hand Interaction enables applications to aim at virtual objects and determine if a user is making a selection based on the user's finger pinch strength. For more information on Hand Tracking, you can check the Wave SDK documentation here.
Setup Project
Download the Vive Wave XR Plugin here.
Setup Hand Tracking
-
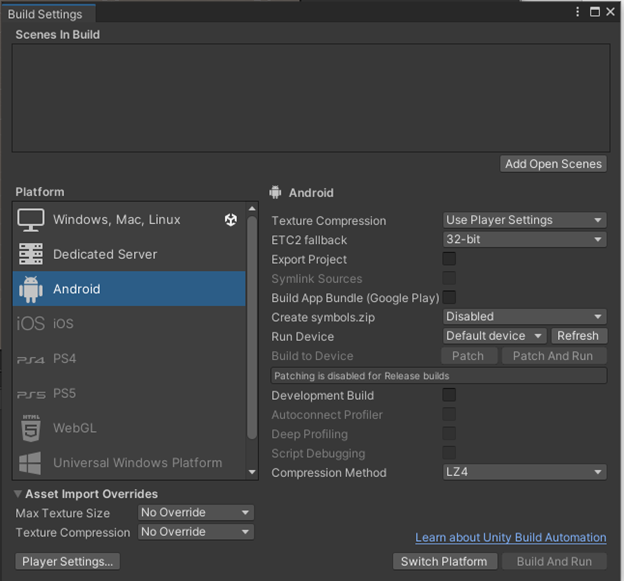
In Build Settings, switch platform to Android.
-
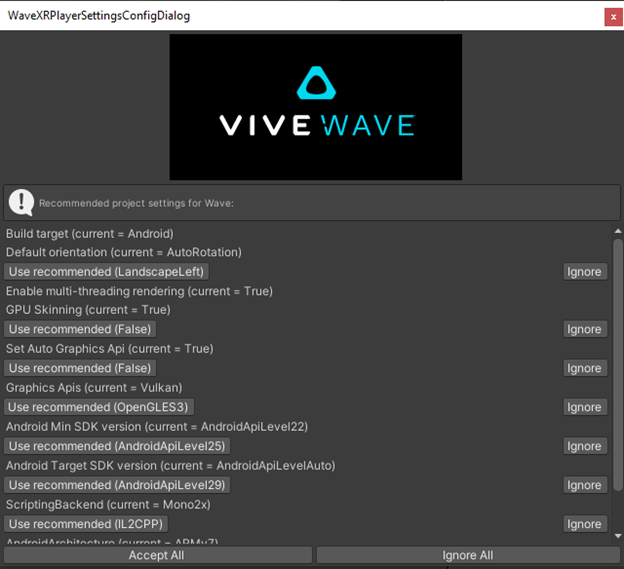
Click Accept All at the WaveXRPlayerSettingsConfigDialog
-
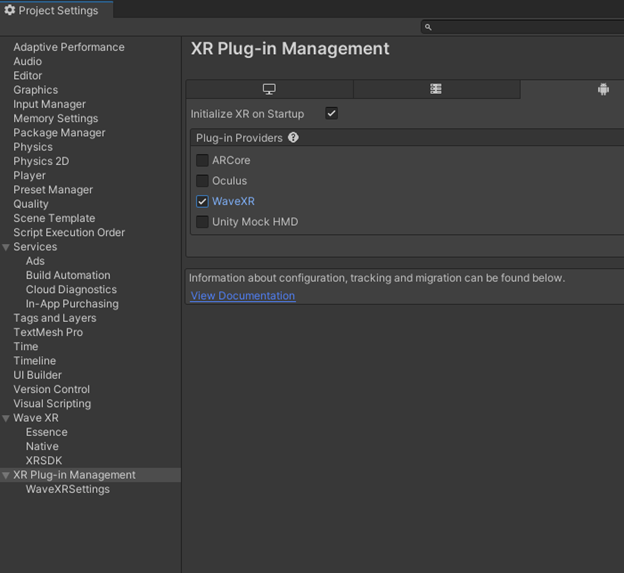
In Project Settings > XR Plug-in Management, place a checkmark for WaveXR.
-
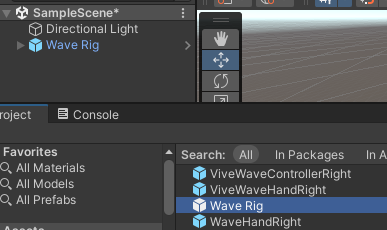
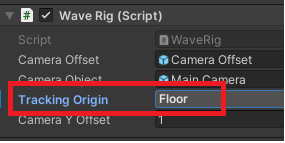
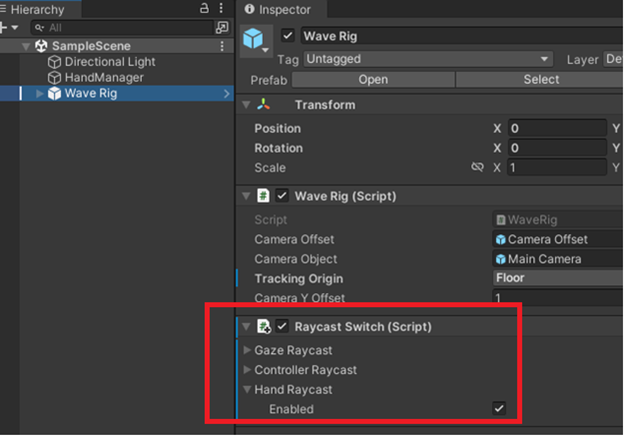
Add a Wave Rig gameobject to the scene and remove any additional cameras if they exist.
-
On the Wave Rig script, update the reference for Tracking Origin to Floor.
-
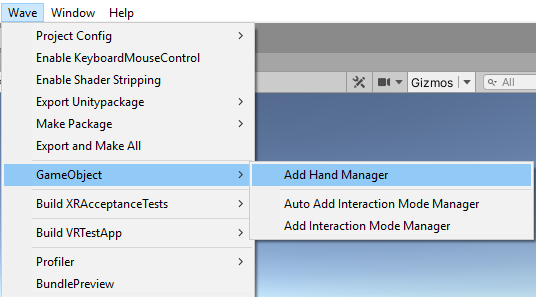
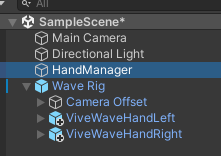
Go to Wave > GameObject and select Add Hand Manager to add the Hand Manager gameobject to your scene.
-
Add the ViveWaveHandLeft and the ViveWaveHandRight prefabs to your scene under the Wave Rig gameobject.
-
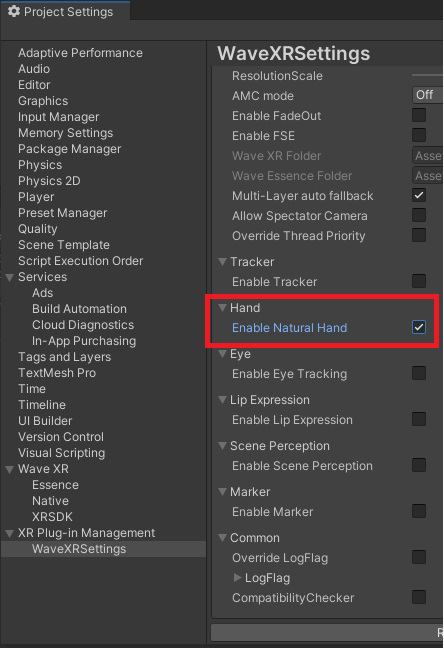
In Project Settings > XR Plug-in Management > WaveXRSettings, place a checkmark by Enable Natural Hand.
-
Build and deploy the APK. You should see hand movements being tracked with the 3D hand models.
Setup Hand Interaction
-
Add the RaycastSwitch script to the Wave Rig gameobject.
-
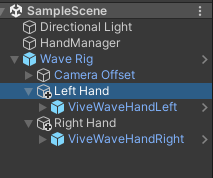
Create 2 new empty gameobjects under the Wave Rig gameobject and name them Left Hand and Right Hand. Move the ViveWaveHandLeft under the Left Hand gameobject and move the ViveWaveHandRight under the Right Hand gameobject.
-
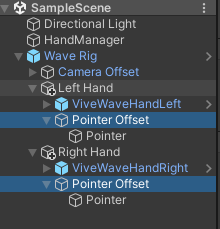
Create a new empty gameobject under Left Hand and name it Pointer Offset. Under Pointer Offset, create a new empty gameobject called Pointer. Create a new empty gameobject under Right Hand and name it Pointer Offset. Under Pointer Offset, create a new empty gameobject called Pointer.
-
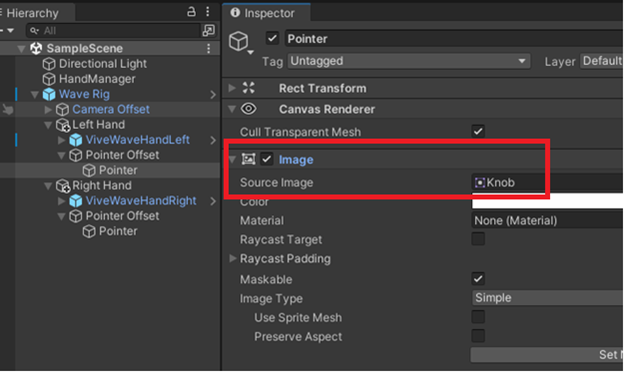
Add an Image component to each Pointer gameobject. Change the source image to Knob and uncheck Raycast Target.
-
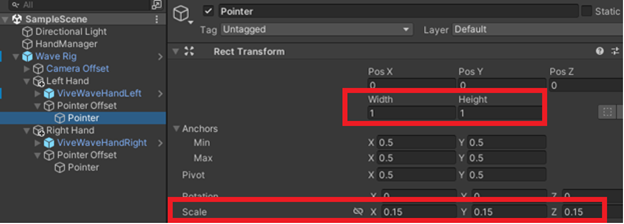
On each Pointer object, change the Width and Height to (1,1) and change the Scale to (.15, .15, .15).
-
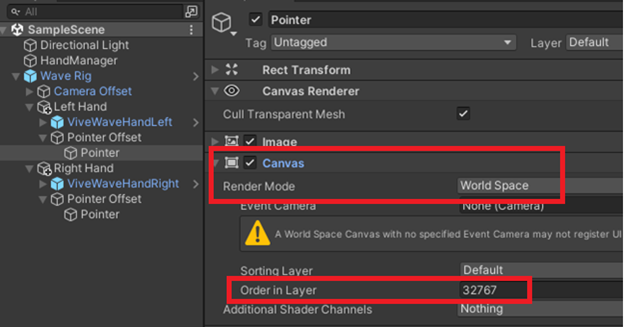
Add a Canvas component to each Pointer gameobject. Change Render Mode to World Space and Order in Layer to 32767.
-
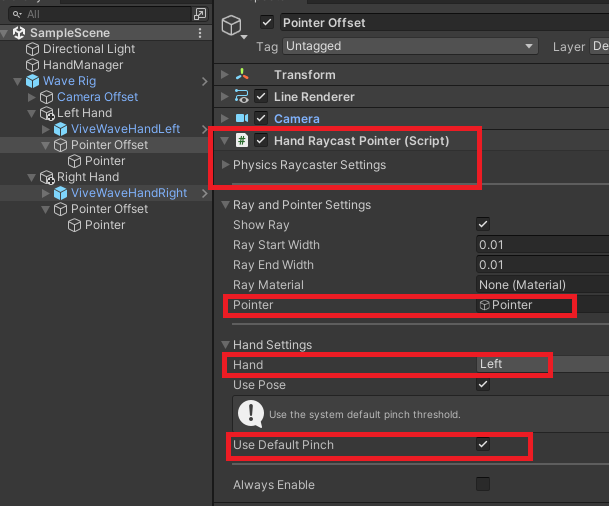
On the Wave Rig > Left Hand > Pointer Offset gameobject, add a HandRaycastPointer script. There is a Pointer property on the Hand Raycast Pointer script. Update the Pointer reference to the Wave Rig > Left Hand > Pointer Offset > Pointer gameobject. Update Hand reference to Left. Place a checkmark by Use Default Pinch.
-
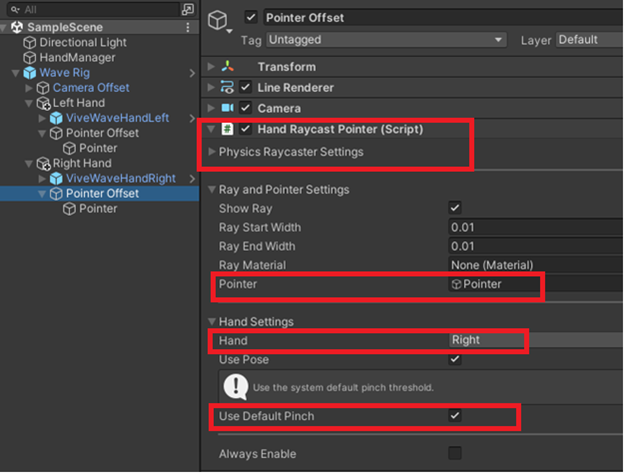
On the Wave Rig > Right Hand > Pointer Offset gameobject, add a HandRaycastPointer script. There is a Pointer property on the Hand Raycast Pointer script. Update the Pointer reference to the Wave Rig > Right Hand > Pointer Offset > Pointer gameobject. Update Hand reference to Right. Place a checkmark by Use Default Pinch.
-
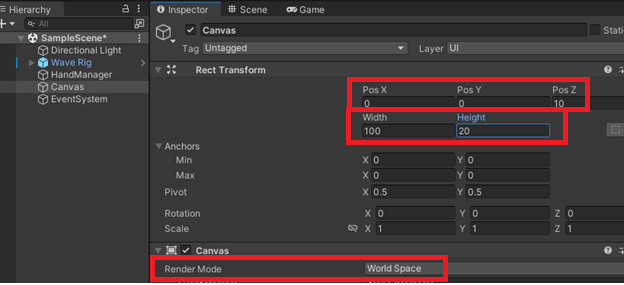
Right-click in the Hierarchy window and select UI > Canvas. This will also add the EventSystem gameobject. On the Canvas gameobject, change the Position to (0, 0, 10). Change the Width and Height to (100, 20). Update the Render Mode camera to World Space.
-
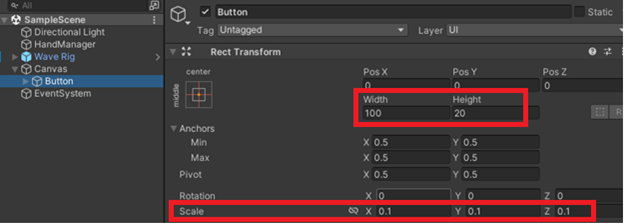
Add a button under Canvas by right-clicking on Canvas and selecting UI > Button – TextMeshPro. Change the Scale of the button (0.1, 0.1, 0.1). Change the Width and Height to (100, 20).
-
After adding the button, the prompt for TextMeshPro will appear. On the TMP Importer prompt, click Import TMP Essentials.

-
Build and deploy the APK You should be able to see the button in front of you. You should also see white dots near your hands to indicate the raycast position. Using hands to move the raycast dot to hover over the button, then use hands to make a pinch (the OK gesture) to click the button. You should see the button change color when clicked.
Accessing Hand Tracking Data
Step 1. Create an empty gameobject called HandTracking. Create a new C# script called HandTracking and add it to the HandTracking gameobject.
Step 2. Open up the HandTracking script, then copy and paste the following code. The script checks on every frame if the user's left or right hands are making a pinching gesture and prints the corresponding text to the Output window of Visual Studio, if the app is being debugged in Visual Studio wirelessly.
using UnityEngine;
using Wave.Essence.Hand;

public class HandTracking : MonoBehaviour
{
    void Update()
    {
        if (HandManager.Instance.IsHandPinching(true))
            System.Diagnostics.Debug.WriteLine($"Left hand pinching");
        else
            System.Diagnostics.Debug.WriteLine($"Left hand NOT pinching");

        if (HandManager.Instance.IsHandPinching(false))
            System.Diagnostics.Debug.WriteLine($"Right hand pinching");
        else
            System.Diagnostics.Debug.WriteLine($"Right hand NOT pinching");
    }
}