English
VIVEPORT DLC Beta Testing Guide
Document version: 1.0, Released July 4th, 2018
Changelog:
DLC Testing: Test your DLC before unveiling to consumers!
This guide outlines a way to test your DLC with a beta base title before public release and submission to the VIVEPORT review team. Follow the steps to test the integration with the base title and the VIVEPORT SDK.
Before You Start:
Make sure you have registered a VIVEPORT developer account for accessing the developer console: https://developer.viveport.com/console/ .
You also need to install the VIVEPORT Software to run the beta base title (for PC titles): https://www.vive.com/setup/ .
To learn more about VIVEPORT DLC SDK functions, see sample code and download the package, visit:
>> Download SDK
>> VIVEPORT DLC SDK functions
Create DLC with a Published Base Title
Step 1: Have a published base title
VIVEPORT DLC can only be created for a published base title; please submit a base title and wait for review and publishing. To learn more about submitting a base title, please go to
https://developer.vive.com/resources/viveport/store-guide/store-submission-guide/english/

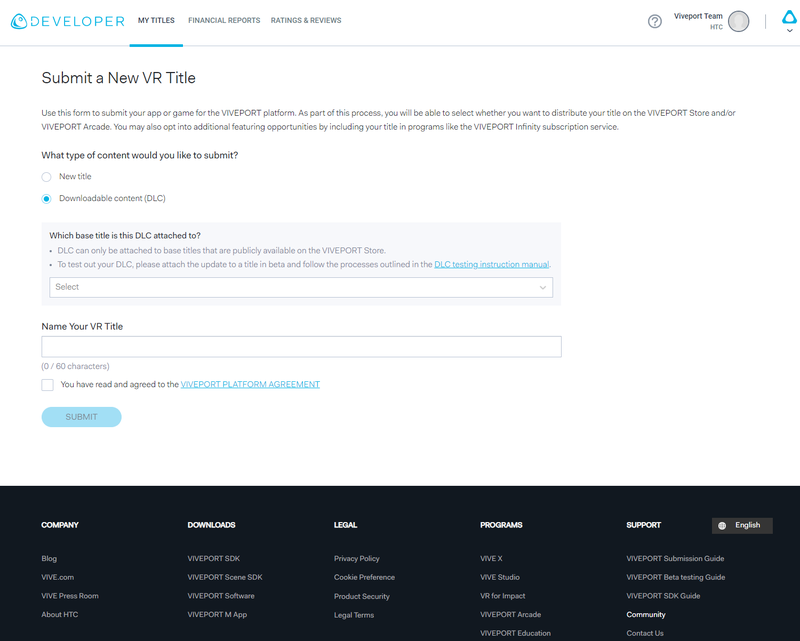
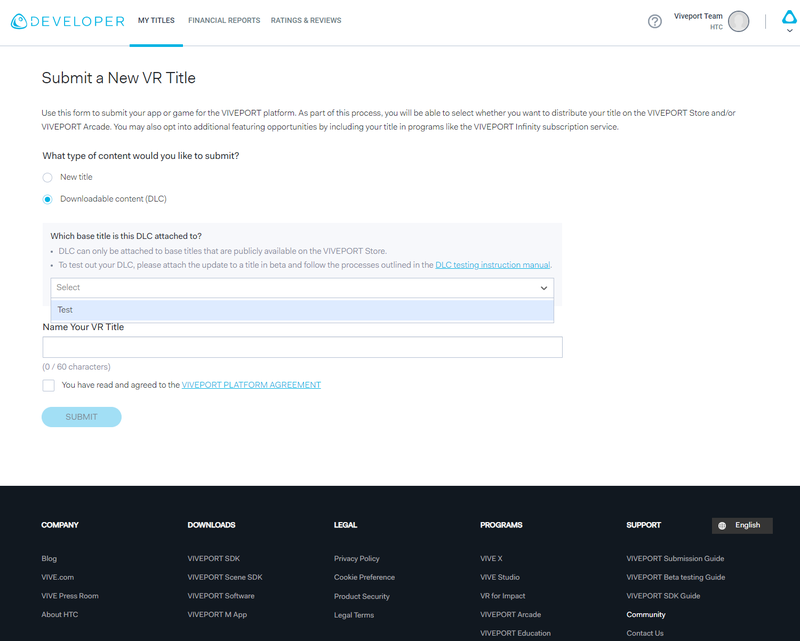
Step 2: Create a DLC draft
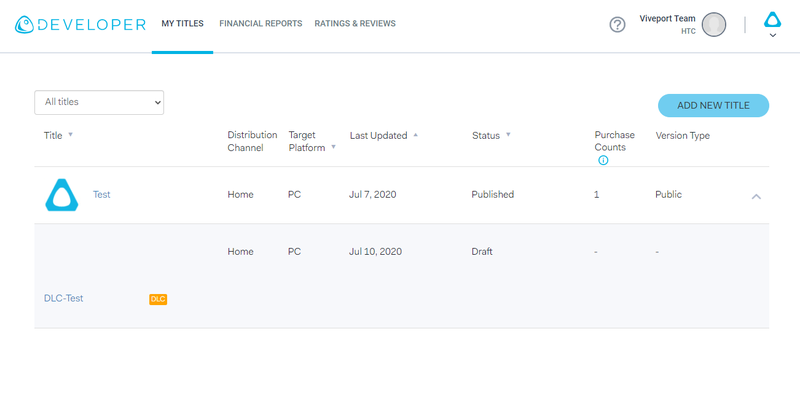
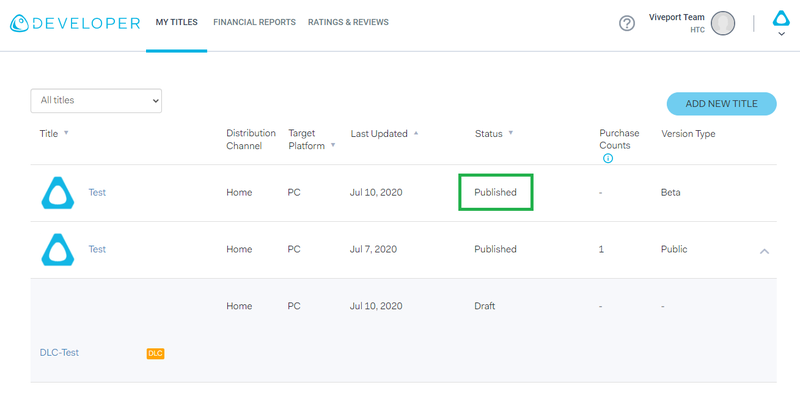
On the “My Titles -> Manage” page of VIVEPORT Developer Console, click the “Add new title” button. Please select “Downloadable content (DLC)”, and you’ll be able to select the base title associated with the DLC. Enter the name of the DLC, and it will lead to the detail page of the DLC. To check the connection between the base title and DLC, you can go back to the title list by clicking the “Manage” tab. The dropdown arrow reveals DLC associated with the base title.
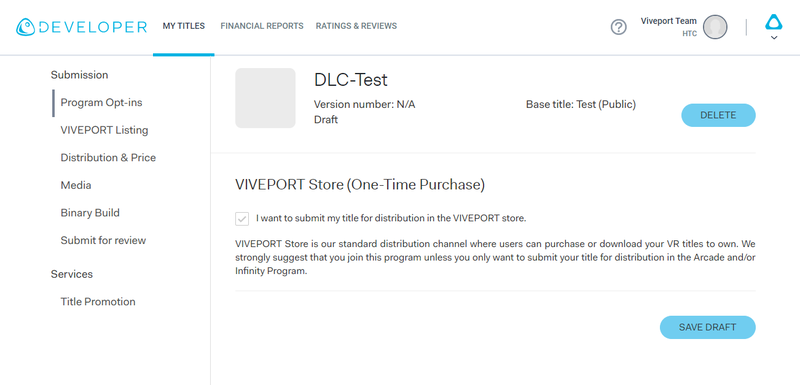
Step 3: Create beta version of the base title
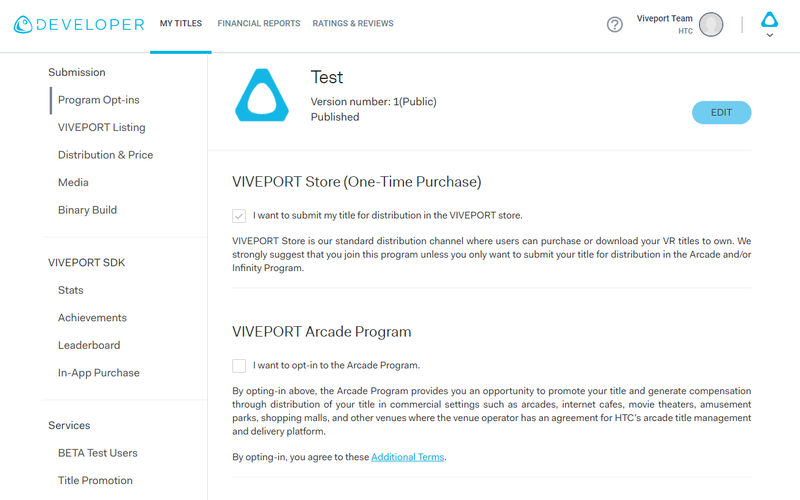
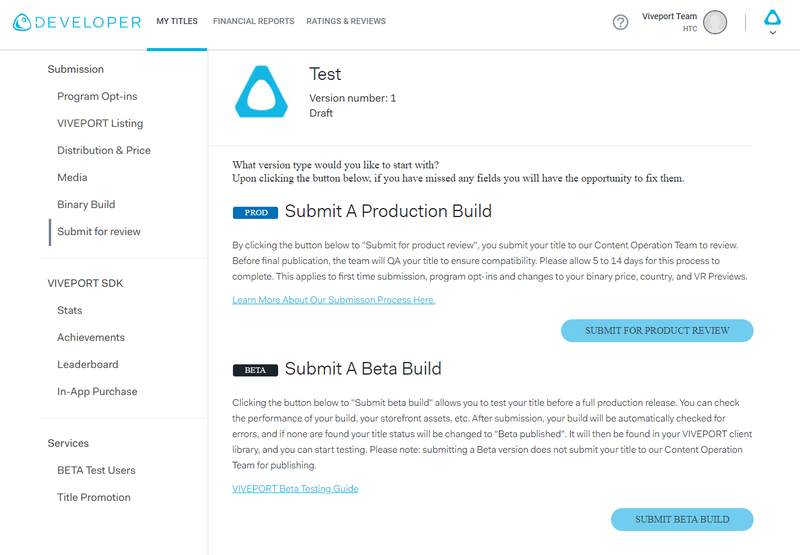
After creating a DLC draft associated with a base title, edit the published base title and create a beta version. To create a beta version, please fill in all the required fields, and click the “Create a beta version” button in the “Submit” tab. The VIVEPORT service will process the beta title. For more information on beta testing a base title, please see the Beta Testing Guide .
Test DLC with a Published Base Beta Title
Step 1: Test DLC with beta version of the base title
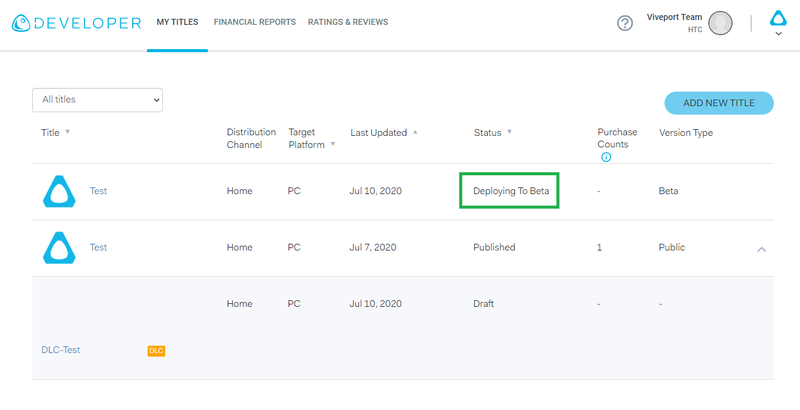
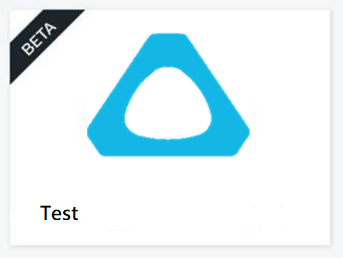
After your base title has been successfully deployed to the beta environment, install and open VIVEPORT Software ( https://www.vive.com/setup/ ) and sign in with your developer account. After launching VIVEPORT Software, switch to Library tab. You will find the beta title and can start downloading. Beta titles will be marked as below.
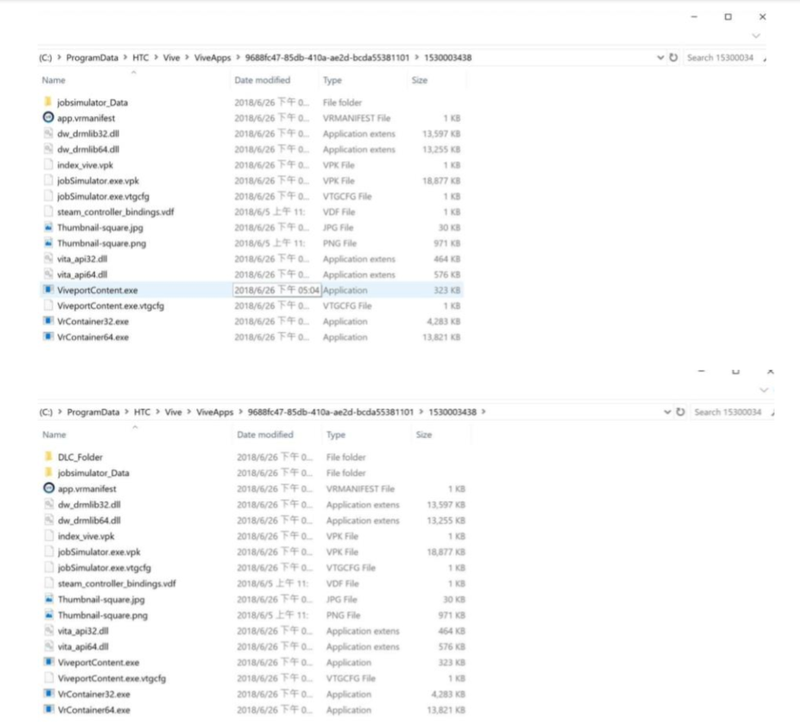
Step 2: Add DLC files to the base beta title’s downloaded folder
The downloaded base title will be placed under the path:
C:\ProgramData\HTC\Vive\ViveApps\
{APP_ID}
\
{VERSION}
; Please use the file explorer to go to the path, and then put your DLC files with the relevant path under the base title’s folder. You can launch the beta base title and start to test the integration with the DLC now.